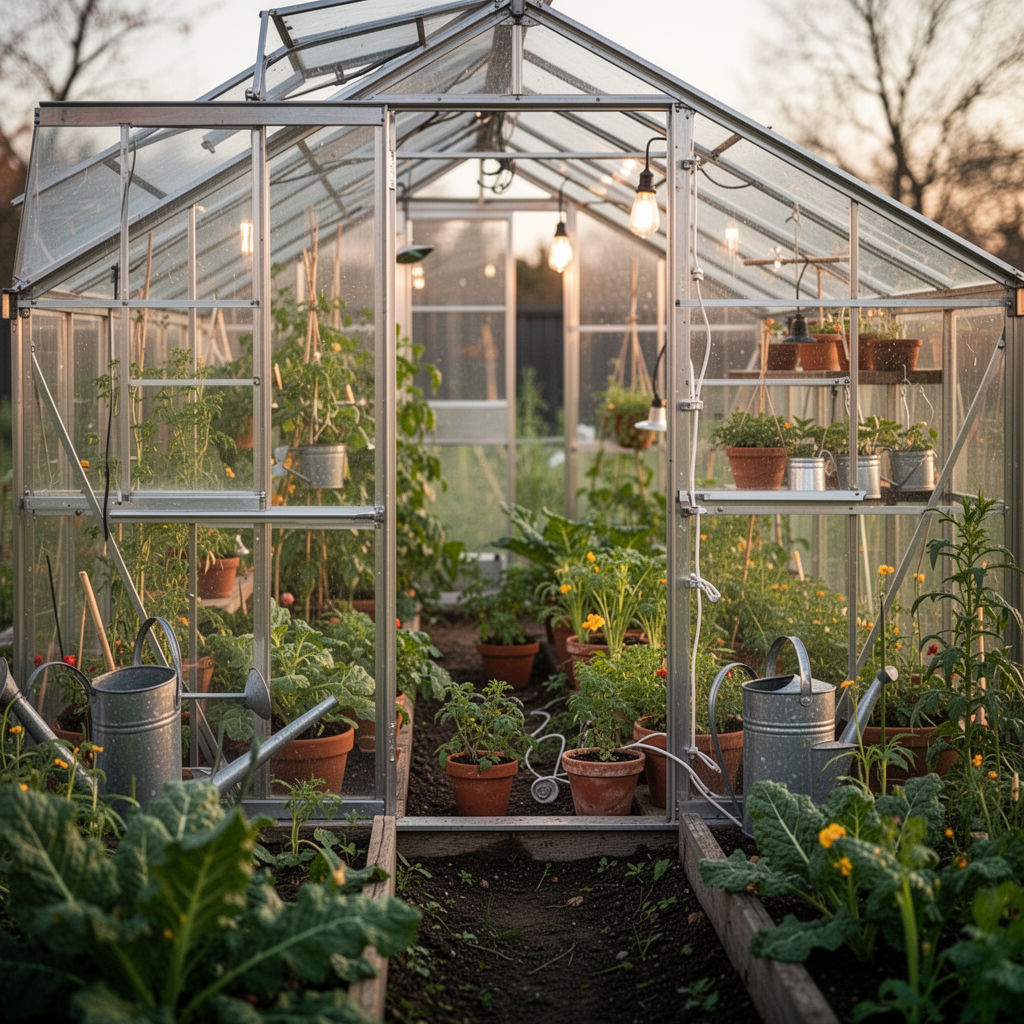
There is nothing quite as frustrating for a gardener as heading out to your greenhouse on a beautiful morning, only to find the door dragging across the frame. A sagging door isn’t just an annoyance; it is a structural warning sign. When a door loses its alignment, it fails to close securely, allowing precious heat to escape, pests to enter, and the frame to warp further under the constant tension. Whether you are dealing with a classic wooden frame or a lightweight aluminum kit, the issue almost always boils down to gravity, settling soil, or hardware fatigue.
In this guide, we will walk you through the diagnostic process and the mechanical fixes required to restore your greenhouse entrance to perfect working order. By the end of this article, you will have the knowledge to troubleshoot the root cause—be it a loose hinge, a settling foundation, or a warped panel—and the confidence to apply the right fix. Let’s get your greenhouse secured and back to peak growing conditions.
Root Causes of Sagging Greenhouse Doors
Before you start unscrewing hardware, you must understand why the sagging occurred. Most greenhouse doors are subject to more environmental stress than interior home doors, leading to premature wear.
- Foundation Shifting: If your greenhouse sits on soil or gravel, even a minor frost heave can shift the frame, causing the door opening to go out of "square."
- Hinge Wear: Constant use, combined with the weight of polycarbonate or glass panels, causes hinge screws to strip out of the frame.
- Thermal Expansion: Greenhouse materials like aluminum and plastic expand and contract differently with temperature swings, which can loosen structural joints over time.
- Rot or Corrosion: In wooden greenhouses, moisture leads to soft wood where screws no longer bite. In metal ones, rust at the pivot point can cause binding and misalignment.
Step-by-Step Diagnosis
- Check the Plumb: Use a bubble level on the vertical side of the door frame. If the frame itself is leaning, the problem is your foundation, not the door.

- Inspect the Hinges: Open the door halfway and try to lift it by the handle. If the door moves up and down on the hinges, the hardware is loose or worn.

- Examine the Latches: Sometimes the door is fine, but the catch plate has moved, making the door appear to sag when it is actually just failing to latch properly.
How to Fix a Sagging Greenhouse Door: Step-by-Step Tutorial
Tools and Materials Required
- Power Drill/Driver (with appropriate bit set)
- Bubble Level
- Shims (wood or composite)
- Adjustable Wrench
- Replacement Hinge Screws (longer/thicker than existing ones)
- Wood Filler or Metal Epoxy
- Turnbuckle Brace Kit (for diagonal sagging)
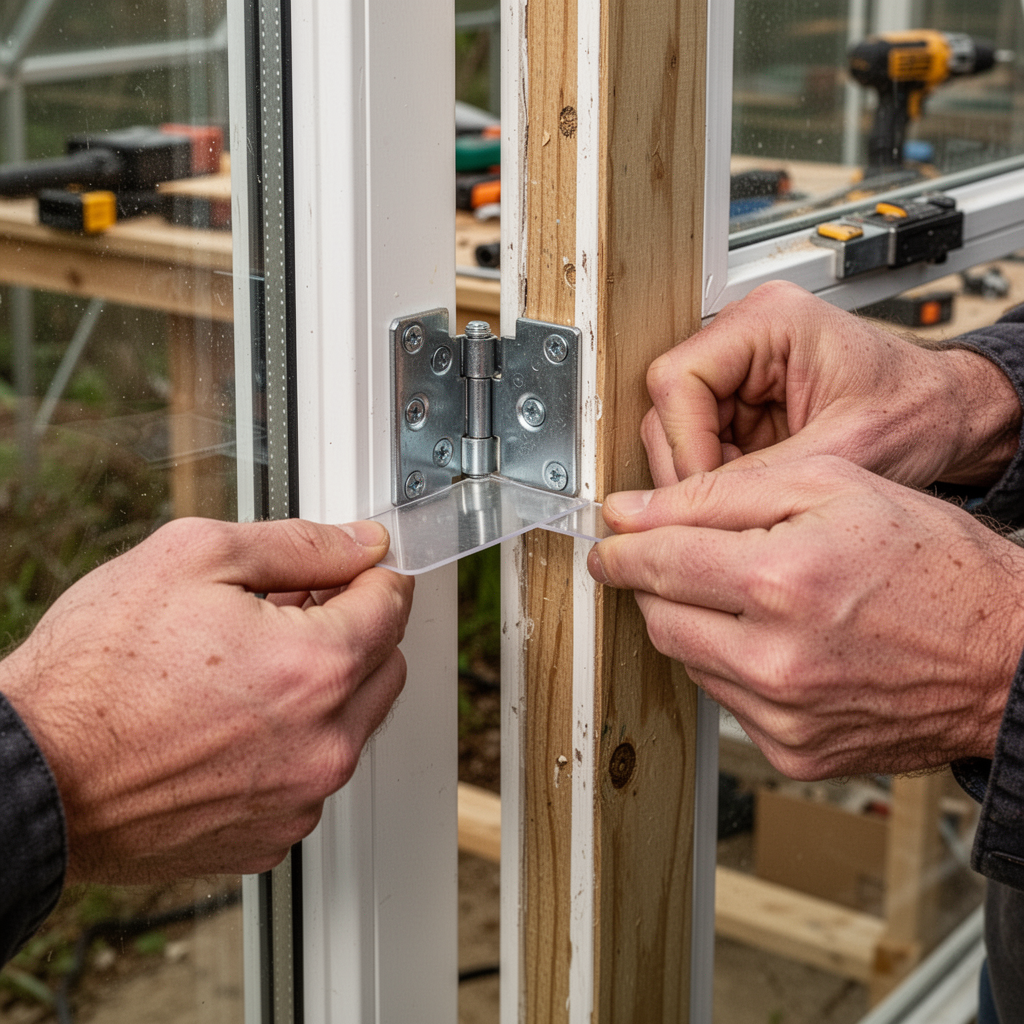
Step 1: Tighten and Reinforce Hinges
The most common culprit is loose screws in the door frame. Remove the screws, fill the holes with a wood filler (if wood) or metal-rated filler, and once cured, drive in longer, high-quality stainless steel screws.

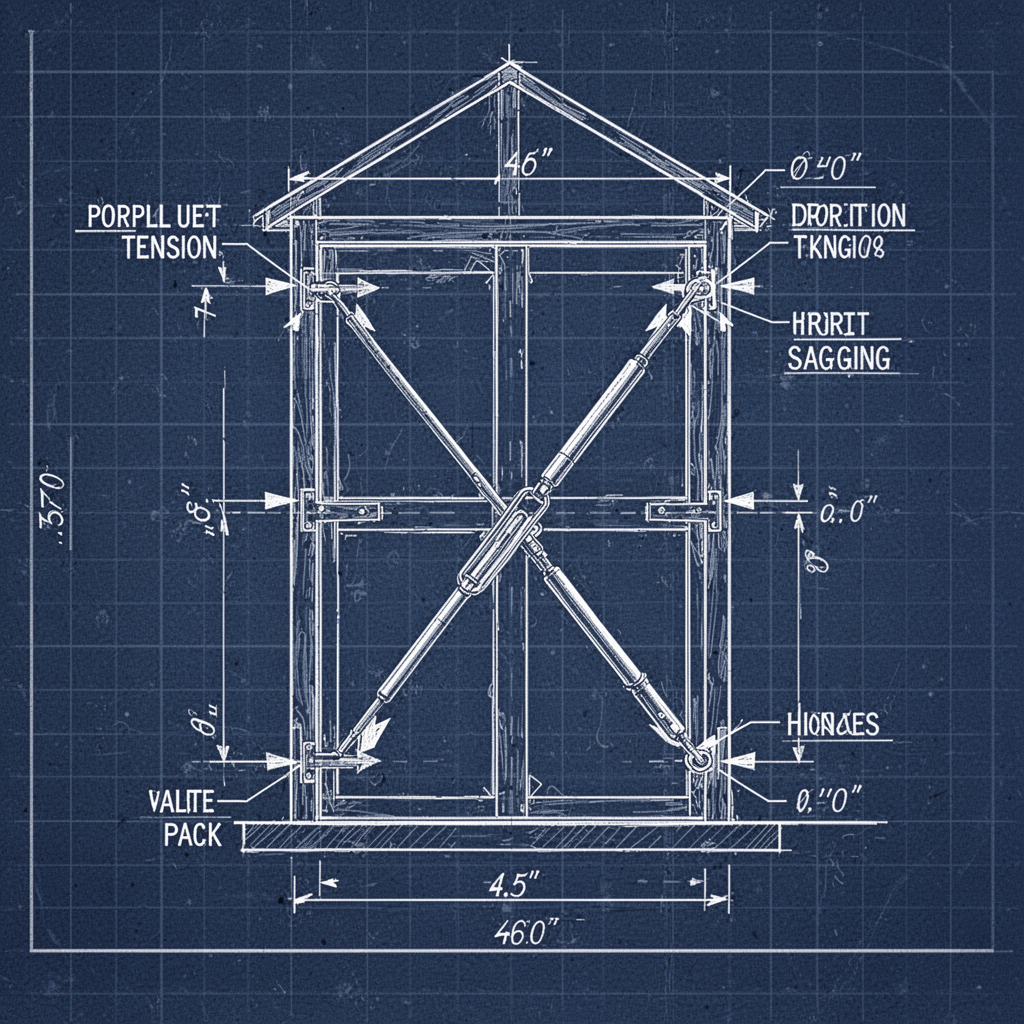
Step 2: Install a Diagonal Brace
If the door itself has "racked" into a parallelogram shape, you need a diagonal brace. Attach an adjustable turnbuckle from the top hinge side to the bottom latch side. Tighten it slowly until the door squares up.

Step 3: Shimming the Hinge
If your door is hitting the threshold, you may need to place a thin shim behind the bottom hinge plate to push the door outward and tilt the top inward.
Step 4: Adjusting the Door Closer
If you have an automatic vent opener or a door closer, ensure it isn't fighting the door's natural swing. Disconnect it and see if the sagging persists. If the door hangs straight without the closer, adjust the tension of the closer unit.

Beginner Tips and Common Mistakes
- Beginner Tip: Always use Stainless Steel hardware. Greenhouses are high-humidity environments; zinc-plated screws will rust within a single season.
- Common Mistake: Overtightening. You want the door to be square, but if you overtighten your diagonal brace, you might bow the door frame or cause the glazing panels to pop out of their tracks.
- Common Mistake: Ignoring the foundation. If the entire structure is sinking, fixing the door is a temporary band-aid. Check your base anchors first.
Frequently Asked Questions (FAQ)
1. Why does my door sag only in the summer? Extreme heat causes metal frames to expand. If the fit is already tight, the expansion can cause the door to bind or drag.
2. Can I use wood glue to fix stripped screw holes? Yes, but for a permanent fix, use wooden dowels dipped in wood glue to fill the hole completely before redrilling.
3. What is the best material for shims? Use plastic or composite shims. They won’t rot or swell when exposed to the high humidity inside a greenhouse.
4. How do I know if the door is sagging or the frame is warped? Use your bubble level. If the frame is square but the door hits the ground, the door hinge is the issue. If the frame is crooked, you have a structural foundation issue.
5. How often should I lubricate my door hinges? At least twice a year—once in spring before the season starts and once in late autumn before winterizing.
6. Do I need a professional for this? If you have to lift the entire greenhouse to reset a foundation beam, call a professional. Minor door adjustments are perfect for a DIY weekend.
7. Can a sagging door cause heat loss? Absolutely. A gap at the bottom or sides allows warm air to escape, significantly increasing your heating costs.
8. What is a "turnbuckle" and why do I need it? A turnbuckle is a metal device that, when rotated, pulls two anchor points closer together, allowing you to manually correct the geometry of a sagging door.
Blueprint: Greenhouse Door Alignment
Safety Tips
- Eye Protection: Always wear safety goggles when drilling into metal or wood to avoid flying debris.
- Weight Awareness: If your door is made of heavy glass, have a helper hold the weight while you work on the hinges to prevent it from swinging and breaking.
- Power Tool Safety: Ensure your drill battery is fully charged. A dying drill can slip and strip screws or damage the greenhouse frame.
Conclusion
Fixing a sagging greenhouse door is a straightforward project that pays off immediately. By identifying whether the issue lies in the hinges, the door's geometry, or the foundation, you can apply the specific fix needed to save your door and maintain your greenhouse’s climate. Remember, the key to a long-lasting repair is using the right materials—specifically, opting for corrosion-resistant hardware that can withstand the unique challenges of your garden environment.
Don't let a dragging door discourage you from enjoying your gardening hobby. With the right tools and these simple steps, you can restore your greenhouse to its proper function in a single afternoon. If you found this guide helpful, make sure to browse our other DIY greenhouse maintenance tips to keep your growing space in top shape all year long!