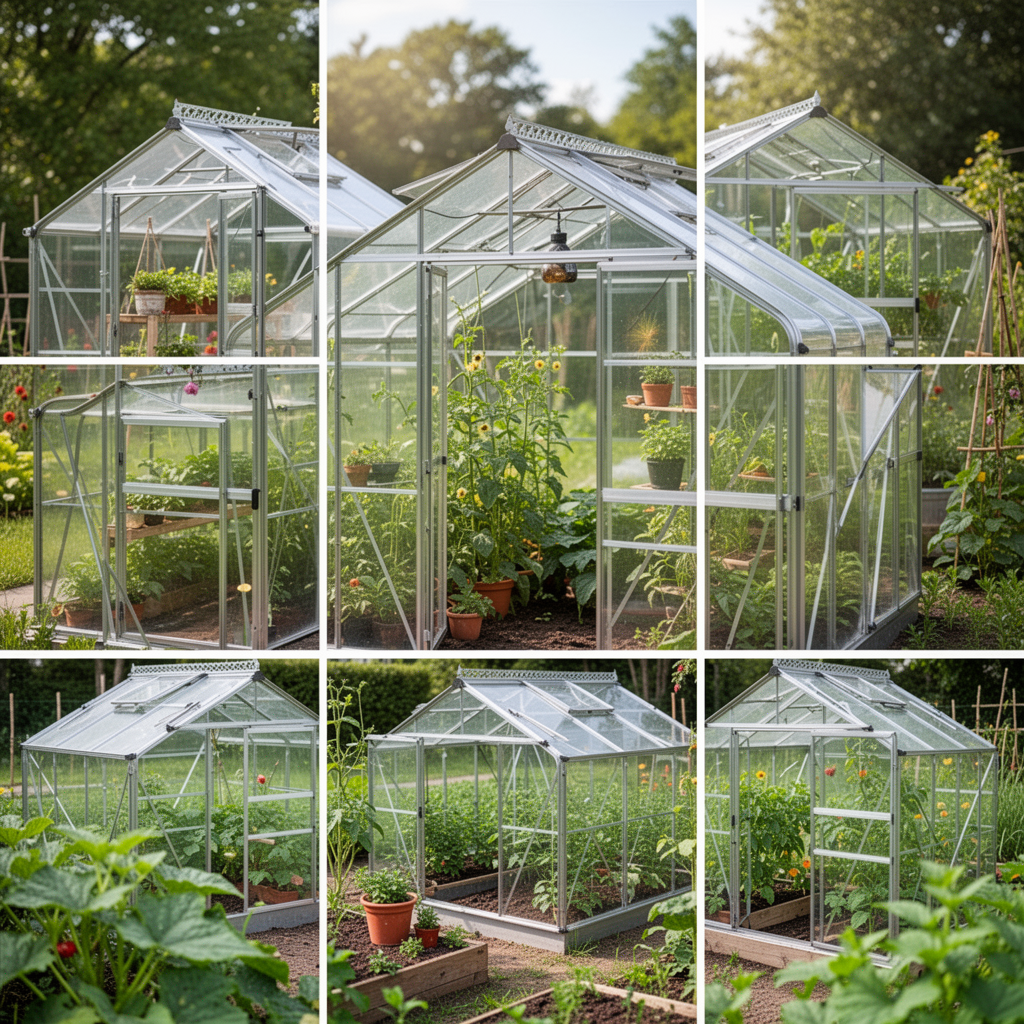
For many gardening enthusiasts in the United States, the ultimate dream is a year-round growing season. While a greenhouse provides the climate protection needed to shield your plants from frost and pests, the internal layout is what determines your true success. If you have been struggling with poor drainage, back-breaking soil work, or inefficient space utilization, it is time to rethink your floor plan. Learning how to build raised beds inside a greenhouse is the single most effective way to maximize your harvests, create ergonomic work zones, and maintain perfect soil health.
Raised beds offer superior drainage compared to planting directly in the ground, and within the controlled environment of a greenhouse, they allow you to create specific soil "recipes" for different crops. Whether you are growing delicate heirloom tomatoes or hearty winter kale, elevated beds keep your plants organized and accessible. In this guide, we will walk you through the structural considerations, material selection, and the physical construction process to transform your greenhouse into a high-production sanctuary.
Why Raised Beds in a Greenhouse Matter
Before picking up a hammer, it is crucial to understand why this investment pays off. Gardening at ground level inside a greenhouse often leads to soil compaction due to frequent foot traffic. Raised beds eliminate this by creating permanent, dedicated growing areas and defined walking paths.
Furthermore, raised beds warm up faster in the spring than the surrounding ground, giving your seedlings a significant head start. By elevating your garden, you also minimize the risk of soil-borne pathogens and pests that often plague floor-level greenhouse beds.
Tools Required
To complete this project efficiently, you will need a basic arsenal of DIY tools:
- Cordless Drill/Driver: Essential for fast, secure assembly.
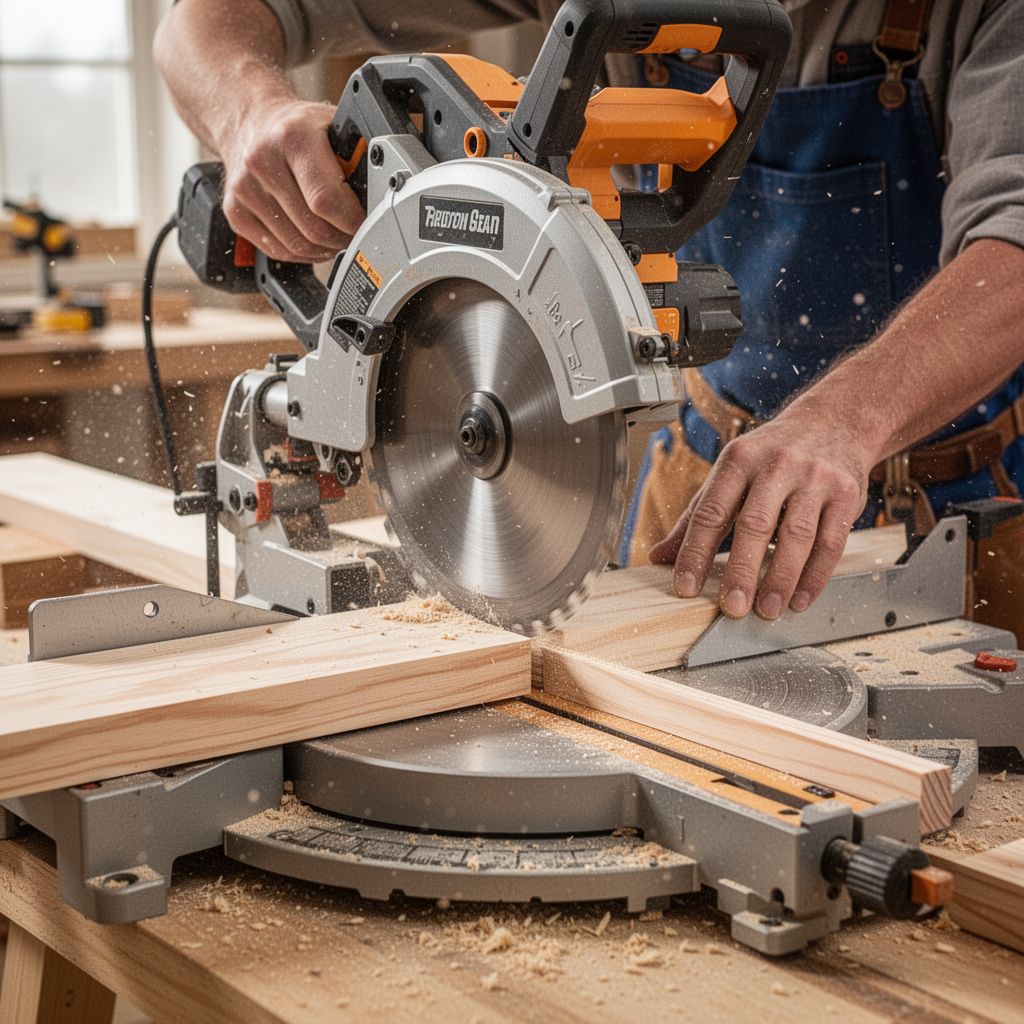
- Circular Saw: Or a miter saw for clean, square cuts.
- Level: To ensure your beds are perfectly flat for uniform irrigation.
- Tape Measure: For precise planning and layout.
- Staple Gun: For securing hardware cloth or landscape fabric.
- Safety Gear: Including work gloves and safety glasses.
Materials Required
Selecting the right materials is the difference between a project that lasts five years and one that lasts twenty.
- Rot-resistant Lumber: Cedar or redwood are ideal. Avoid pressure-treated wood if you are growing organic, or use eco-friendly treatments.
- Corrosion-resistant Screws: Exterior-grade deck screws.
- Landscape Fabric: To suppress weeds while allowing drainage.
- Hardware Cloth: To keep burrowing rodents out.
- Potting Mix/Compost Blend: High-quality soil for filling your new beds.
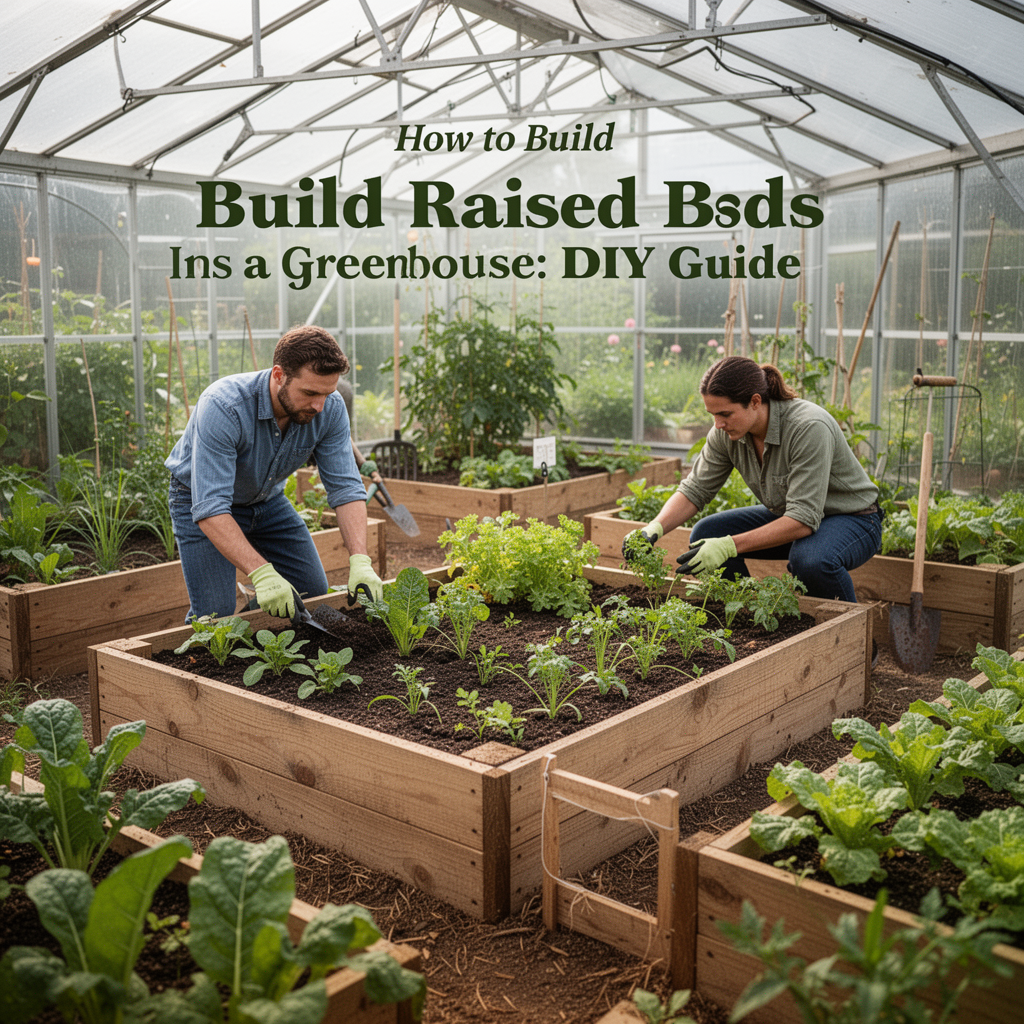
Step-by-Step Tutorial: Building Your Greenhouse Beds
Step 1: Planning and Layout
Measure your greenhouse interior precisely. Remember to leave at least 24–36 inches for walking paths so you can maneuver comfortably with a watering can or garden cart.

Step 2: Cutting the Lumber
Using your circular saw, cut your boards to the desired length. Standard raised bed sizes are 4 feet wide, allowing you to reach the center from either side.

Digital Photography Complete Course: Learn Everything You Need to Know in 20 Weeks
Step 3: Preparing the Greenhouse Floor
Clear the area where the beds will sit. Lay down hardware cloth to create a barrier against gophers and moles that might sneak under the greenhouse foundation. Secure it with a staple gun.

Step 4: Assembling the Frame
Using your cordless drill, attach the corner posts to your side boards. Ensure everything is square. If the beds are long, add a center support brace to prevent the sides from bowing outward when filled with soil.

Step 5: Leveling the Beds
Place the frames in position. Use your level to check all four sides. If your greenhouse floor is slightly uneven, dig out small amounts of soil under the high corners until the frame sits perfectly level.

Step 6: Lining and Filling
Line the inside walls with landscape fabric to protect the wood from direct contact with wet soil. Fill the beds with a mixture of screened compost, peat moss, and vermiculite.

Beginner Tips for Success
- Don't Over-Build: Start with two beds rather than filling the entire greenhouse. This allows you to learn how your irrigation needs change with the elevated soil.
- Think Vertically: Use the space above your raised beds to install trellises for cucumbers or pole beans.
- Label Everything: The controlled environment of a greenhouse can lead to rapid plant growth; keep track of varieties with durable plant markers.
Common Mistakes to Avoid
- Ignoring Ventilation: Raised beds can increase humidity. Ensure your greenhouse vents are functioning properly to prevent mold.
- Using Non-Draining Soil: Standard garden soil is too heavy for raised beds. Always use a potting mix formulated for container or bed gardening.
- Too Narrow Paths: Don't sacrifice your ability to move comfortably. If you can't reach your tools or water the back of the bed, the design has failed.
Frequently Asked Questions (FAQ)
1. Is pressure-treated wood safe for my greenhouse beds? Modern pressure-treated wood uses copper-based preservatives that are significantly safer than the arsenic-based treatments of the past, but many organic gardeners still prefer cedar or redwood.
2. How deep should my raised beds be? A depth of 12 inches is sufficient for most vegetables. If you are growing deep-rooted crops like carrots or parsnips, aim for 18–24 inches.
3. Do I need to bottom-line my beds? If you have a concrete greenhouse floor, you don't need hardware cloth. If it's dirt, use hardware cloth to stop pests and landscape fabric to suppress weeds.
4. How often should I replace the soil? You don't need to replace it entirely. "Refresh" the soil every season by adding a few inches of fresh compost.
5. How do I irrigate raised beds in a greenhouse? Drip irrigation is best. It delivers water directly to the root zone, keeping the foliage dry and reducing the risk of fungal diseases.
6. Can I build these on an uneven floor? Yes, but you will need to level the frame using scrap wood or by excavating the high points under the frame.
7. How do I keep the wood from rotting? Use naturally rot-resistant wood like cedar. You can also coat the exterior (not the interior) with a food-safe exterior stain.
8. What is the best time of year to build these? Late winter or very early spring, just before you start your seeds. This gets your infrastructure ready for the planting rush.
Blueprint Section

Safety Tips
Always wear eye protection when using power tools, especially when cutting lumber. If you are working in a greenhouse during a warm day, ensure you are well-hydrated, as greenhouses can become significantly hotter than the outside ambient temperature. When lifting heavy bags of compost, use your legs, not your back, to avoid strain. Finally, ensure all electrical cords for drills or saws are kept away from water sources to prevent hazards.
Conclusion
Building raised beds inside your greenhouse is a transformative project that bridges the gap between amateur gardening and high-efficiency food production. By choosing the right materials, ensuring your structure is level, and focusing on proper soil health, you are creating a garden that will provide for you for years to come. Remember, the goal is to make gardening easier and more enjoyable—so don't be afraid to customize these plans to fit your specific greenhouse layout. Now that you have the knowledge and the steps, head out to your local hardware store, gather your supplies, and start building the foundation of your future harvests. Your plants will thank you with stronger growth and more bountiful yields. Happy building!