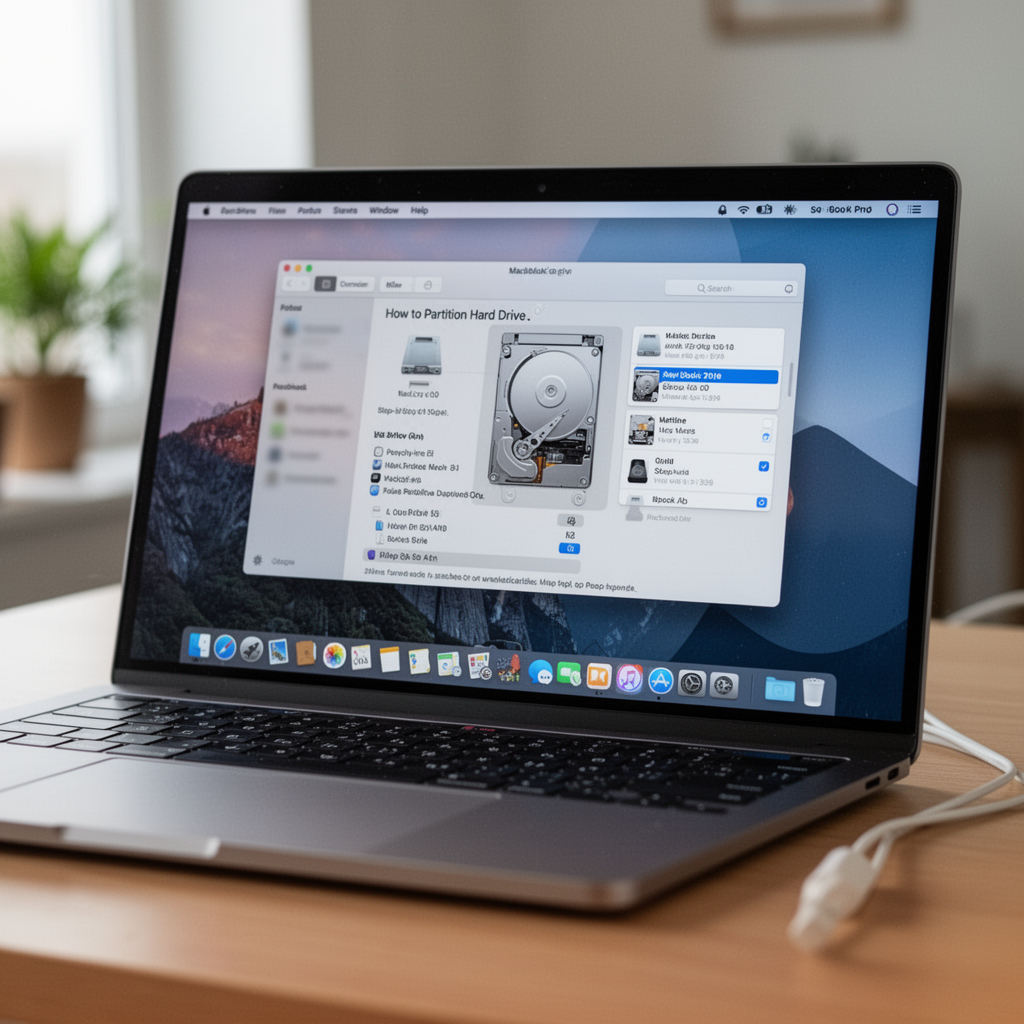
Are you running out of organized space on your MacBook Pro, or perhaps you are looking to install a secondary operating system like Linux or an older version of macOS? Learning how to partition hard drive on MacBook Pro is a fundamental skill for any power user. By splitting your physical drive into multiple "virtual" drives, you can isolate your system files from your personal data, create a dedicated space for backups, or run different environments without risking your primary installation.

ACASIS USB C 3.2 SSD Enclosure for Apple SSD 12+16 PIN MacBook Pro,MacBook Air, Mac Pro, iMac from 2013 to 2017 A1465 A1466 A1502 SSD,MacBook SSD Enclosure with M.2 NVMe Adapter
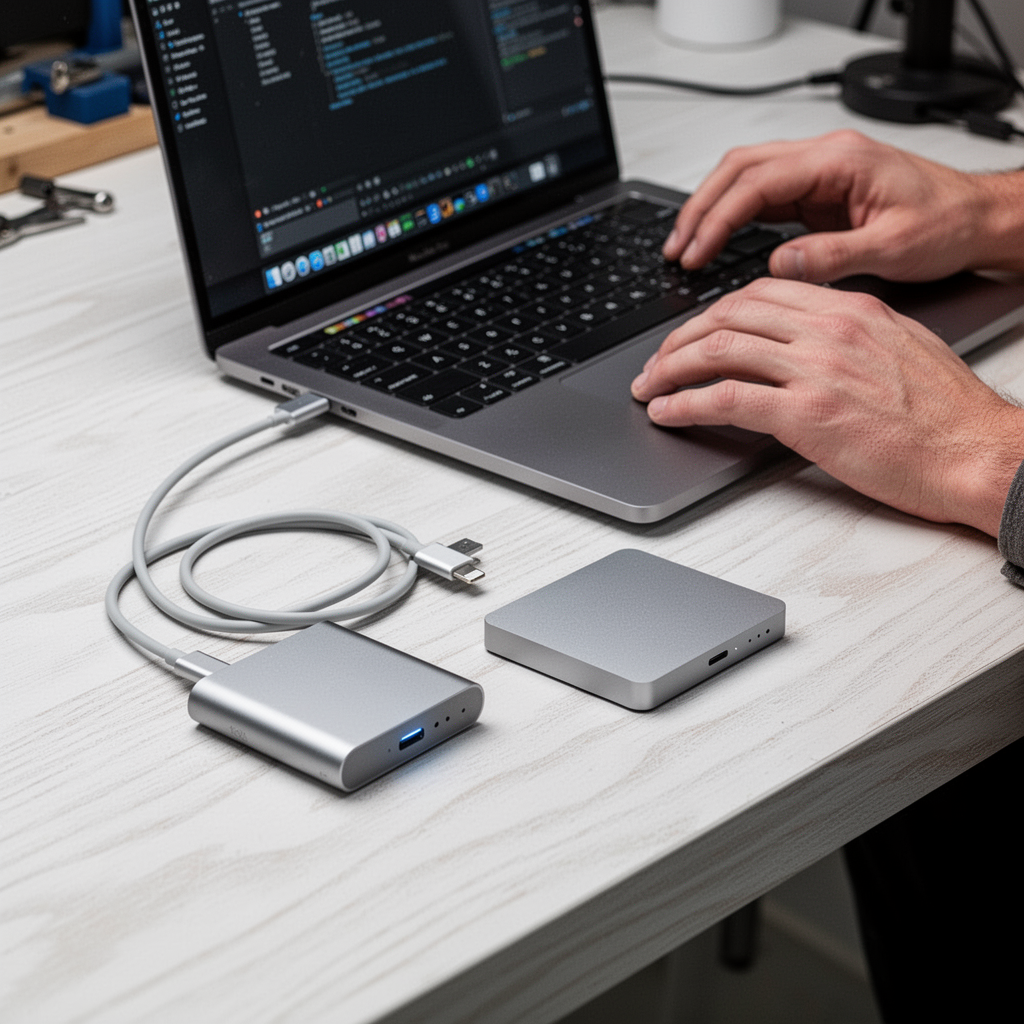
While modern macOS versions like macOS Sonoma or Ventura have streamlined the process via the Disk Utility app, the process still requires caution. A single mistake could lead to data loss if you aren't prepared. Before you begin, you need to ensure your data is secure. We highly recommend using a reliable external drive to back up your machine via Time Machine. If you are looking for a high-performance external drive to serve as your backup hub or secondary partition storage, the SanDisk 2TB Extreme Portable SSD is our top recommendation for speed and reliability.
Let’s dive into how to manage your storage like a professional.
Why Partitioning Matters
Partitioning isn't just about slicing up your storage; it’s about data management and security. When you partition your drive, you create separate containers. If your primary system partition becomes corrupted, your data in the secondary partition often remains untouched. Furthermore, it allows for:
- Dual-Booting: Running two different operating systems on one Mac.
- Organization: Keeping work projects separate from personal media.
- Testing: Safely installing beta software in a sandbox partition.
Tools and Materials Required
To successfully partition your MacBook Pro, you don’t need expensive third-party software. The tools are built right into your macOS:
- Disk Utility: The native Apple application for managing drives.
- External Storage: For a mandatory Time Machine backup.
- Apple Silicon or Intel Processor: The steps are largely universal, though UI elements may shift slightly between OS versions.
Step-by-Step Tutorial: Partitioning Your Mac
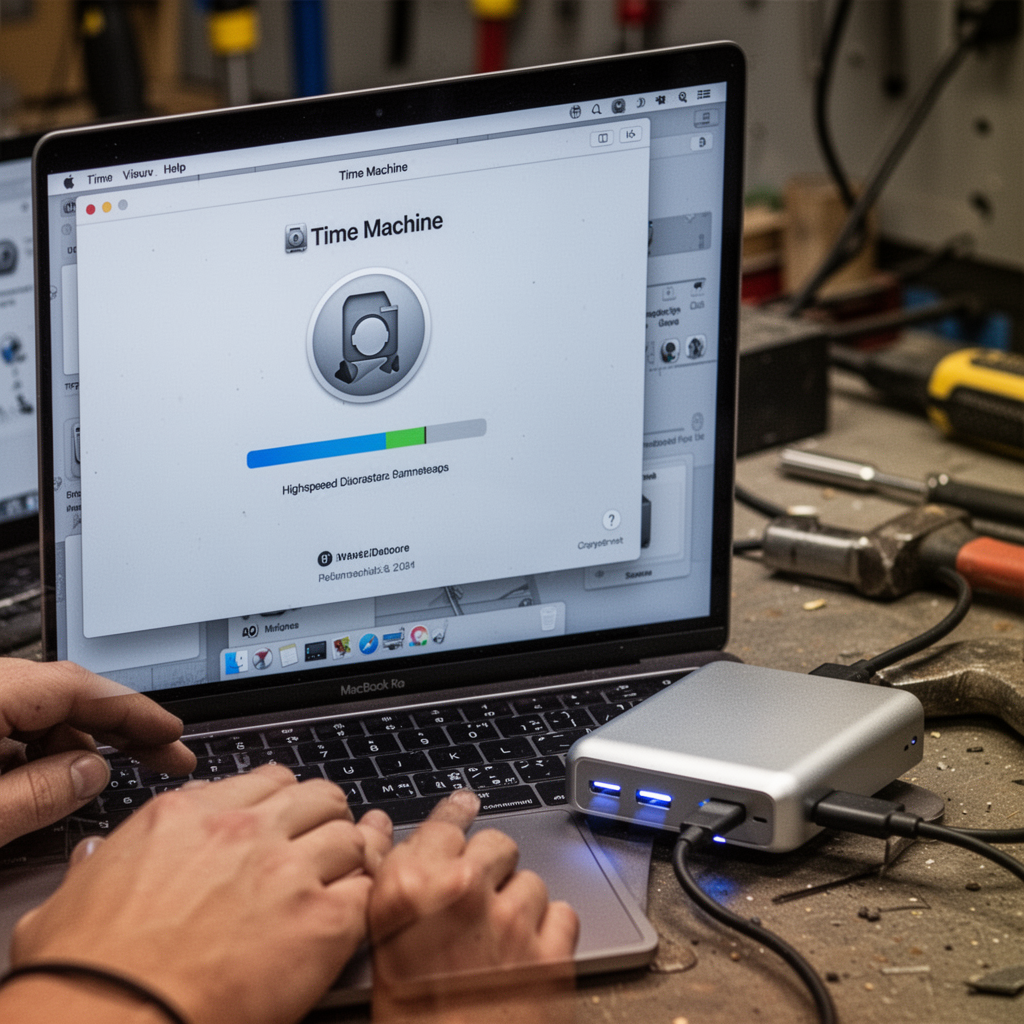
Step 1: Backup Your Mac
Never perform partition operations without a full backup. Use an external hard drive and Time Machine.
Step 2: Open Disk Utility
Navigate to Applications > Utilities > Disk Utility. You can also find it quickly by pressing Command + Space and typing "Disk Utility."

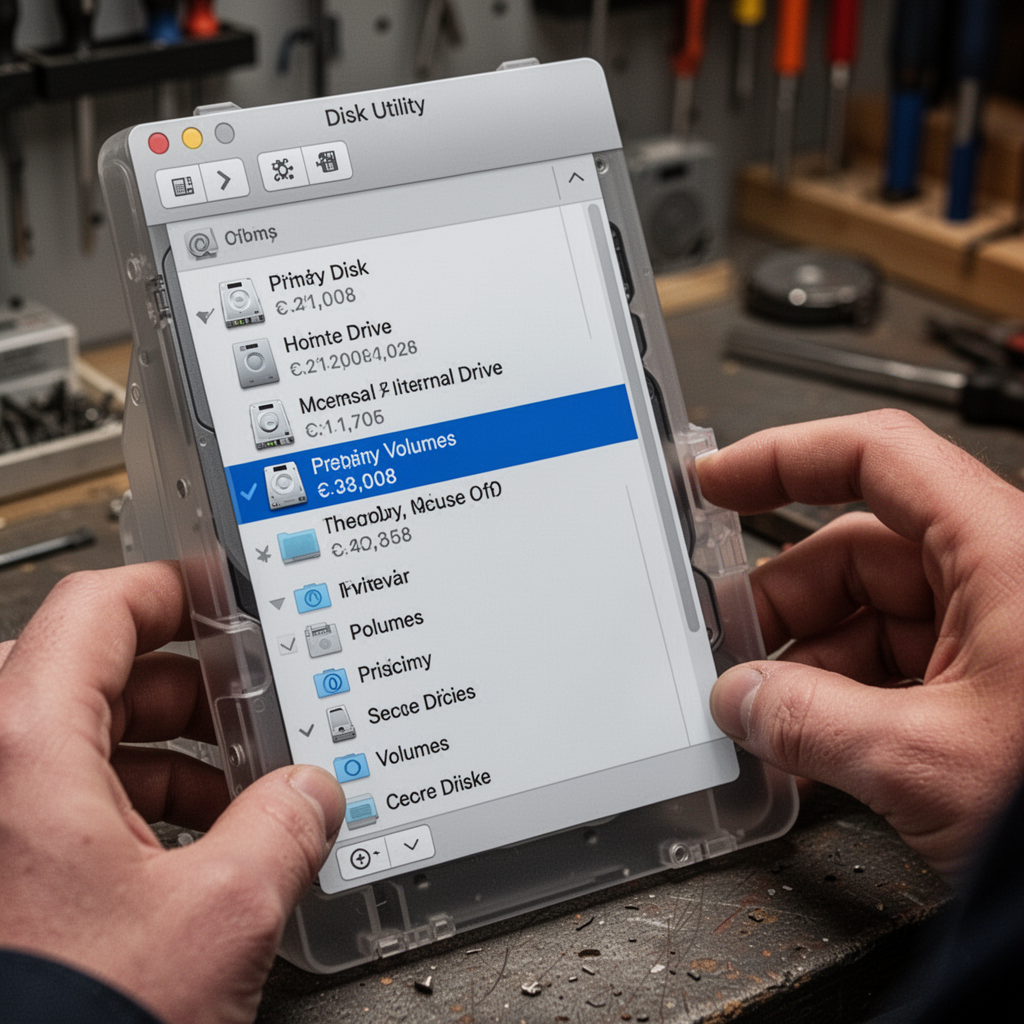
Step 3: Select Your Drive
In the sidebar, select your internal hard drive (usually labeled "Macintosh HD"). Click the "Partition" button at the top of the window. If the partition button is greyed out, ensure you are selecting the top-level drive, not just the volume.
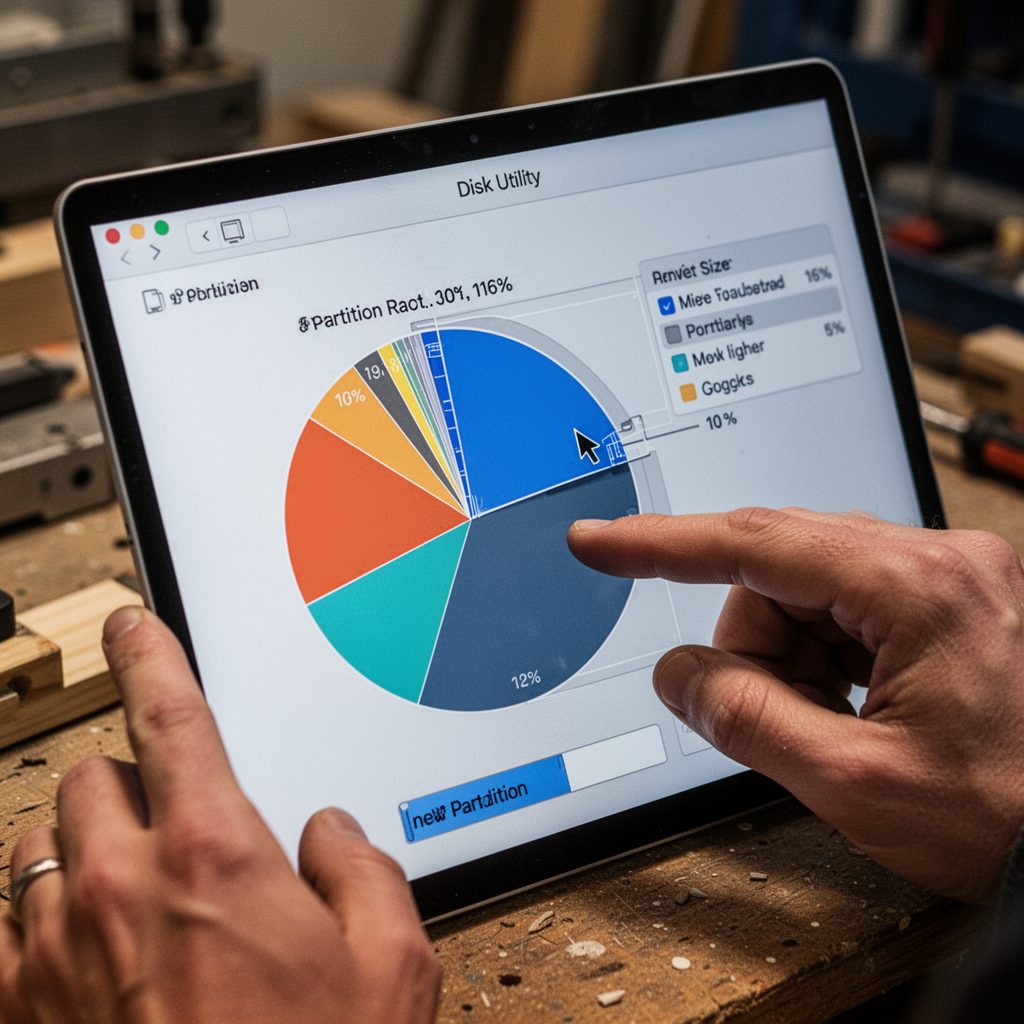
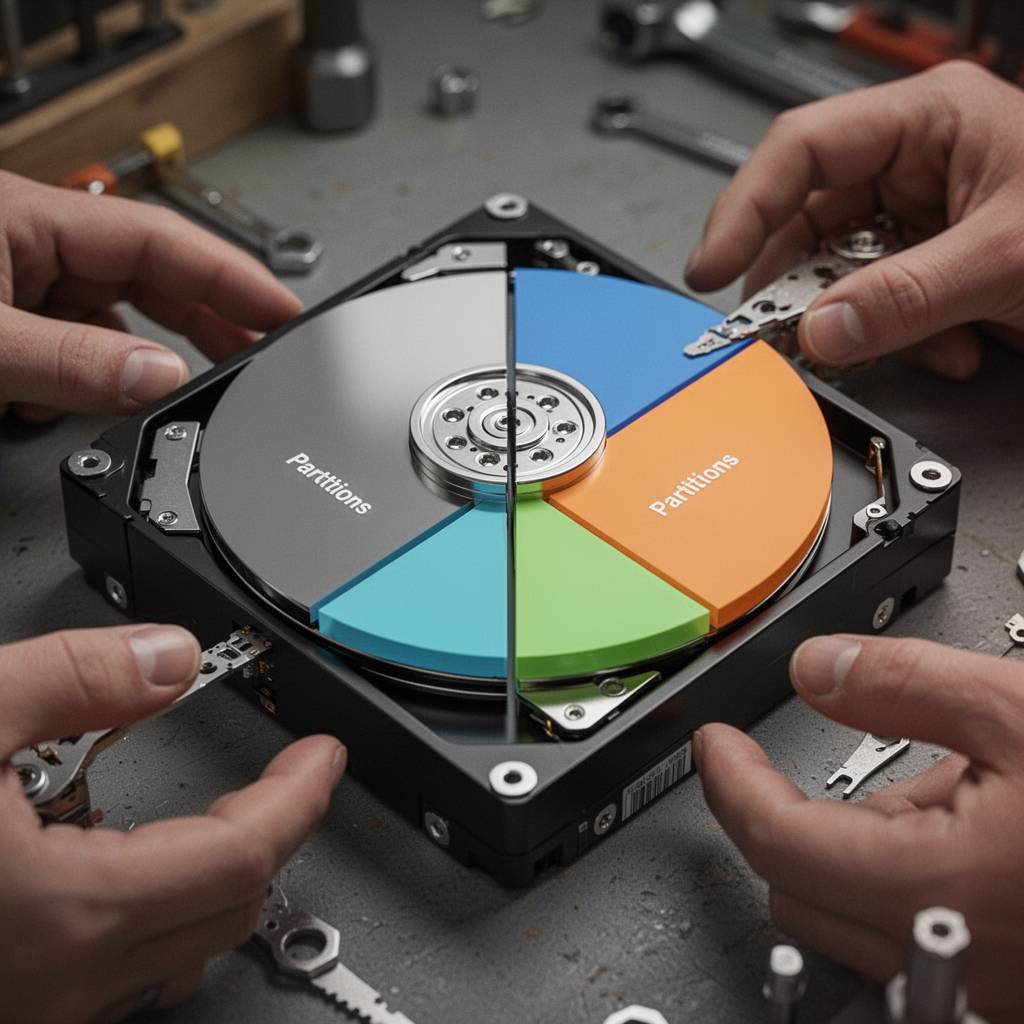
Step 4: Add a Partition
Click the + (plus) icon to add a partition. You will see a circular pie chart representing your total storage. You can drag the handles to resize the partitions to your liking.
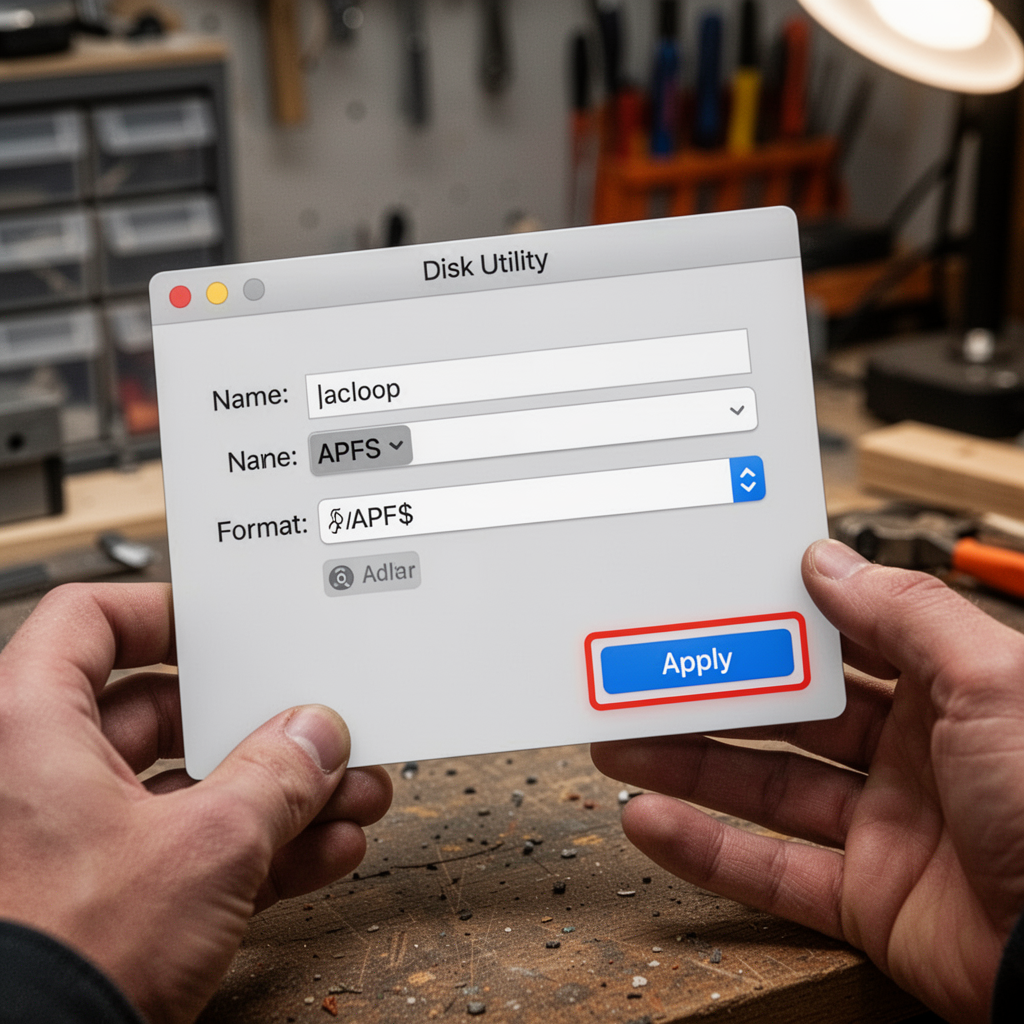
Step 5: Format and Name
Name your new partition clearly. Choose APFS as your format if you are using macOS High Sierra or later, as it is the most efficient system for flash storage. Click "Apply" to finalize.
Beginner Tips
- Don't over-partition: Creating too many small partitions can lead to wasted space that cannot be easily re-allocated later.
- Leave buffer room: Always ensure your primary "System" partition has at least 50GB of free space for OS updates and temporary system files.
- Naming Conventions: Use simple names like "Work" and "Media" to avoid confusion.
Common Mistakes to Avoid
- Choosing the wrong format: Always stick with APFS for modern Macs. Using older formats like Mac OS Extended (Journaled) will degrade performance.
- Ignoring the Backup: Many users assume partitioning is non-destructive. While it usually is, power fluctuations or system crashes during the resize process can result in total data loss.
- Partitioning the Recovery Partition: Avoid touching the hidden recovery volumes, as this can break your ability to restore your Mac.
FAQ: Partitioning Your MacBook Pro
1. Is partitioning safe for my data? Yes, but only if you have a backup. Always back up your drive before making changes to partition tables.
2. Can I merge partitions later? Yes, Disk Utility allows you to remove a partition and add the freed space back to the original partition.
3. Does partitioning slow down my Mac? Not noticeably. The overhead of managing two partitions is negligible on modern NVMe drives.
4. Can I partition an external drive too? Absolutely. The process is identical to partitioning an internal drive.
5. What is the minimum space for a partition? Technically, you can create a small partition, but for an OS, you should allocate at least 64GB-100GB.
6. Why is the Partition button greyed out? You may be selecting a "Volume" instead of the "Container" or the root "Disk." Select the top-level disk name.
7. Can I move files between partitions? Yes, partitions act like separate hard drives. You can drag and drop files between them just as you would between an external drive and your Mac.
8. Should I use FAT32 or exFAT? Only if you need to share the partition with Windows. Otherwise, stick to APFS.
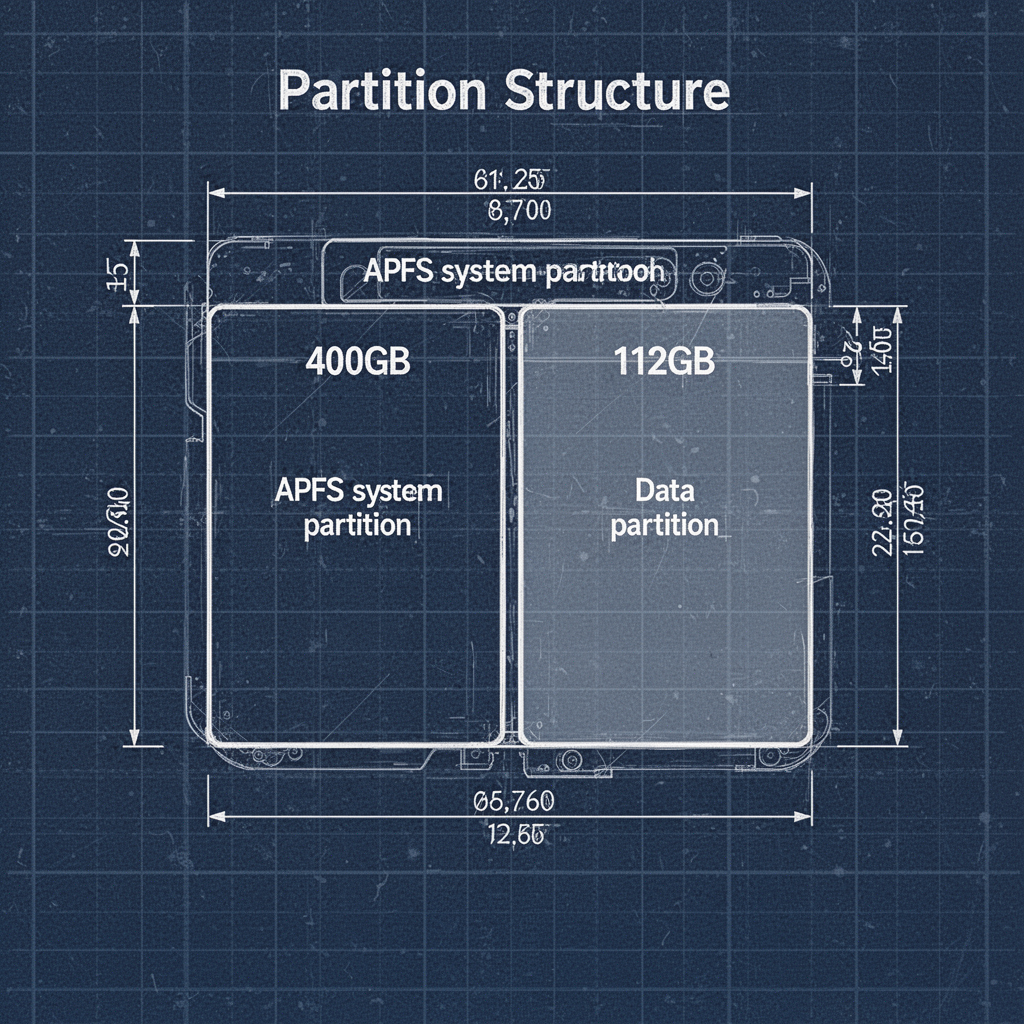
Blueprint: The Partition Architecture
The technical layout of a partitioned drive relies on the Partition Map (GUID Partition Table on Mac). This map tells the OS exactly where each section begins and ends.
Safety Tips
Always ensure your MacBook Pro is plugged into a power source. If your laptop dies in the middle of a partition resize operation, the file system can become corrupted, leading to a "bricked" state that requires a full factory reset. Additionally, keep your environment free of magnetic interference and ensure your Mac is updated to the latest OS version to ensure the latest Disk Utility bug fixes are installed.
Conclusion
Learning how to partition your hard drive on a MacBook Pro is a rite of passage for the organized user. Whether you are creating a workspace for professional development or simply keeping your gaming files separate from your spreadsheets, the process is safe, efficient, and built right into your machine. Remember to always back up your data using a reliable drive like the SanDisk Extreme Portable SSD before starting.
Take the time to plan your partition sizes, label them clearly, and enjoy the peace of mind that comes with a well-organized computer. If you follow these steps carefully, you will avoid common pitfalls and keep your system running smoothly for years to come. Now, open your Disk Utility and take control of your storage today!