Introduction
Are you trying to run a Virtual Machine (VM) like VirtualBox, VMware, or even the Windows Subsystem for Linux (WSL), only to be met with a frustrating "Virtualization Not Enabled" error? You aren’t alone. Many professionals and students choose the Lenovo ThinkPad for its legendary reliability and keyboard comfort, but by default, these machines often ship with Virtualization Technology (often labeled as Intel VT-x or AMD-V) disabled for security reasons.

KardiaMobile 1-Lead EKG Monitor, Medical-Grade FDA-Cleared Personal Heart Monitor, Detects Normal, AFib & Arrhythmias, 30 Second Results, Works with Smartphones, Pocket Size, No Subscription Required
Enabling this feature is the gateway to advanced computing. Whether you are a developer testing code in isolated environments, a student learning cybersecurity, or an IT professional managing virtual servers, unlocking your processor's full potential is a necessary hurdle. The good news? You don’t need to be a hardware engineer to fix this. In this guide, I will walk you through the process of accessing your BIOS/UEFI settings to flip that switch. Before we dive into the technical steps, ensure your system is backed up and you have a reliable way to navigate your settings. Let's turn that locked-down hardware into a multitasking powerhouse.
Why Virtualization Matters
Virtualization is a technology that allows you to create multiple "virtual" computer systems within a single physical host. When you enable virtualization in your BIOS, you are granting your Hypervisor (the software that runs VMs) direct access to your CPU’s specialized instruction sets. Without this, your VMs will run painfully slow or fail to launch entirely.

LC-dolida Sleep Headphones, 3D Sleep Mask Bluetooth Wireless Music Eye Mask, Sleeping Headphones for Side Sleepers Sleep Mask with Bluetooth Headphones Ultra-Thin Stereo Speakers Perfect for Sleeping
Tools and Requirements
To perform this task safely, you only need a few things:
- A Lenovo ThinkPad: Ensure it is plugged into a power source to prevent accidental shutdowns.
- Patience: BIOS navigation requires focus; follow each step precisely.
- External Storage (Optional but recommended): If you are doing deep system maintenance, having a reliable External SSD to back up your critical data is a smart move.
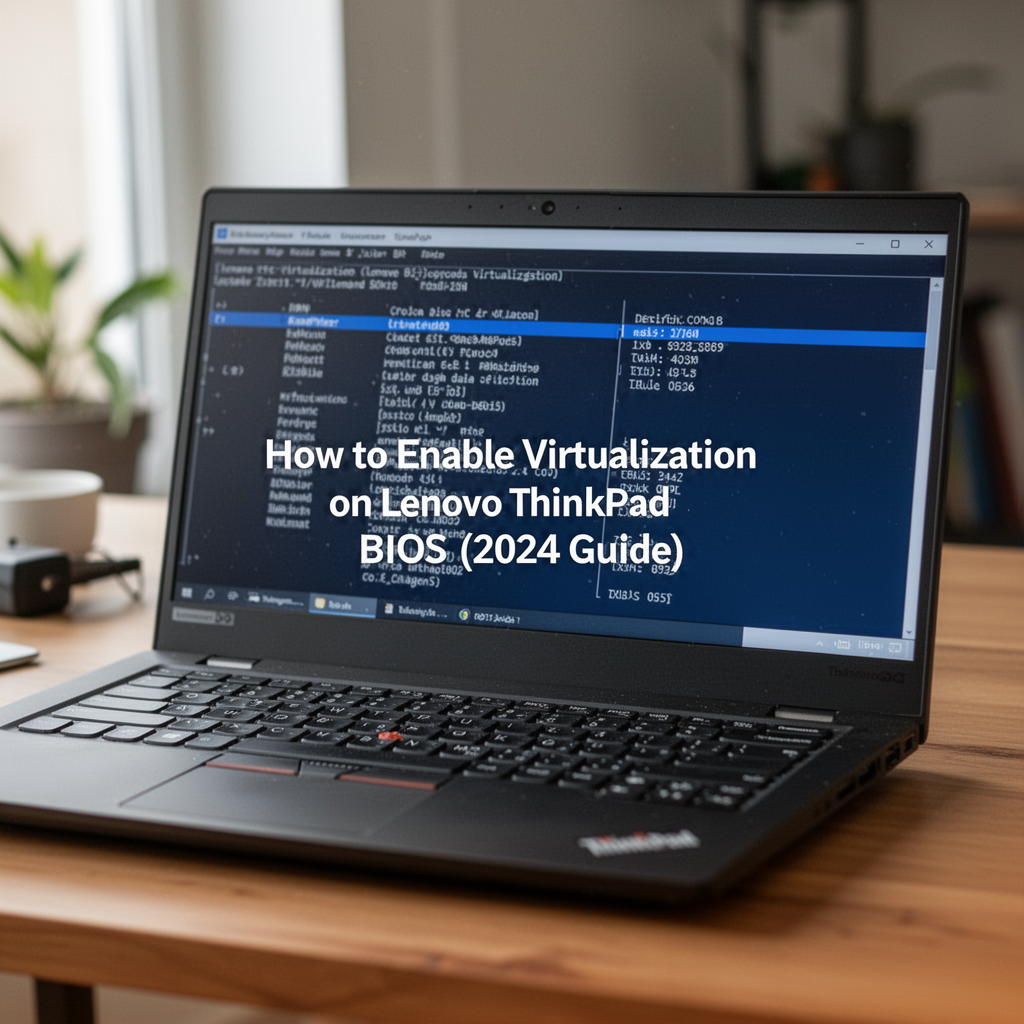
Step-by-Step: How to Enable Virtualization on Lenovo ThinkPad BIOS
Step 1: Accessing the BIOS/UEFI Menu
To reach the BIOS, you need to interrupt the standard boot process.
- Shut down your ThinkPad completely.
- Press the Power button.
- Immediately and repeatedly press the F1 key (or Enter followed by F1) until the BIOS Setup Utility screen appears.

Step 2: Navigating the Security Tab
Once inside the BIOS, use your keyboard’s arrow keys (the mouse may not work here).
- Navigate to the Security tab at the top of the screen.
- Use the down arrow key to highlight Virtualization.
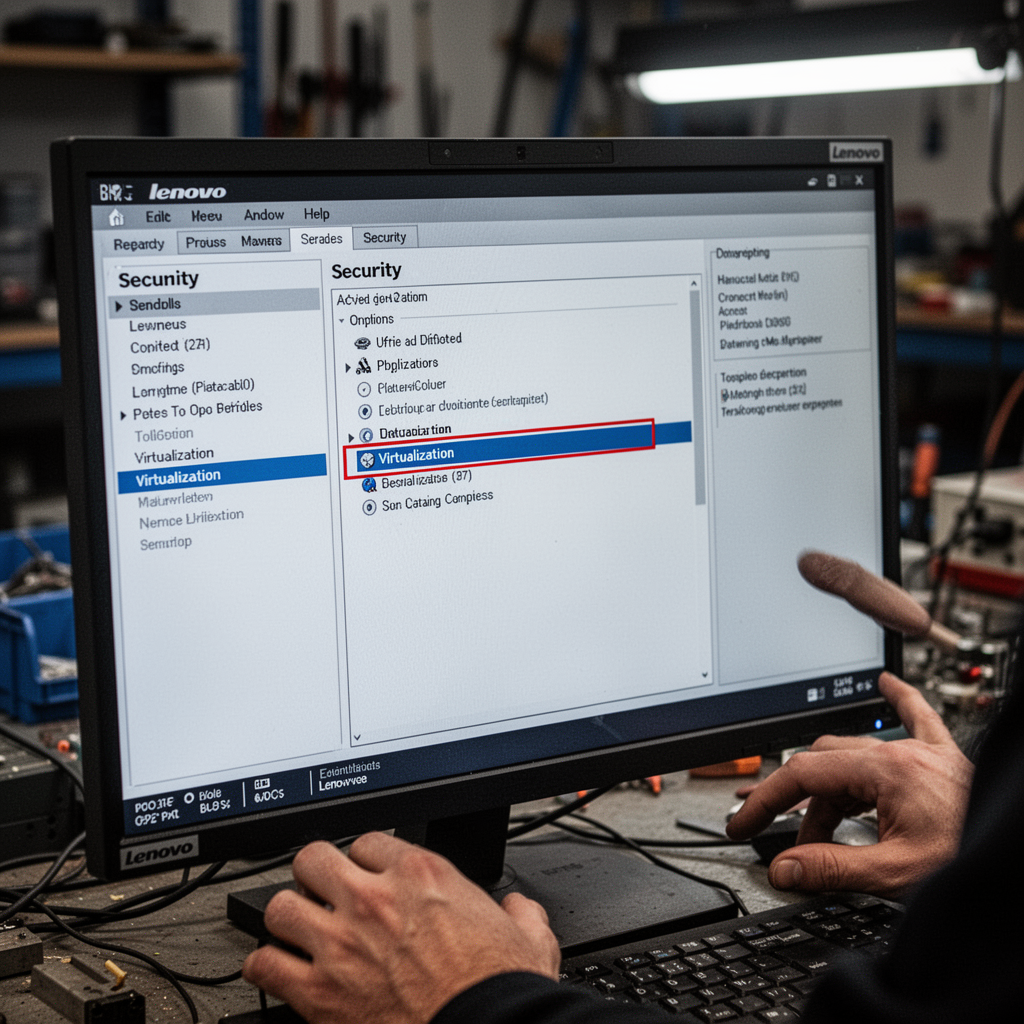
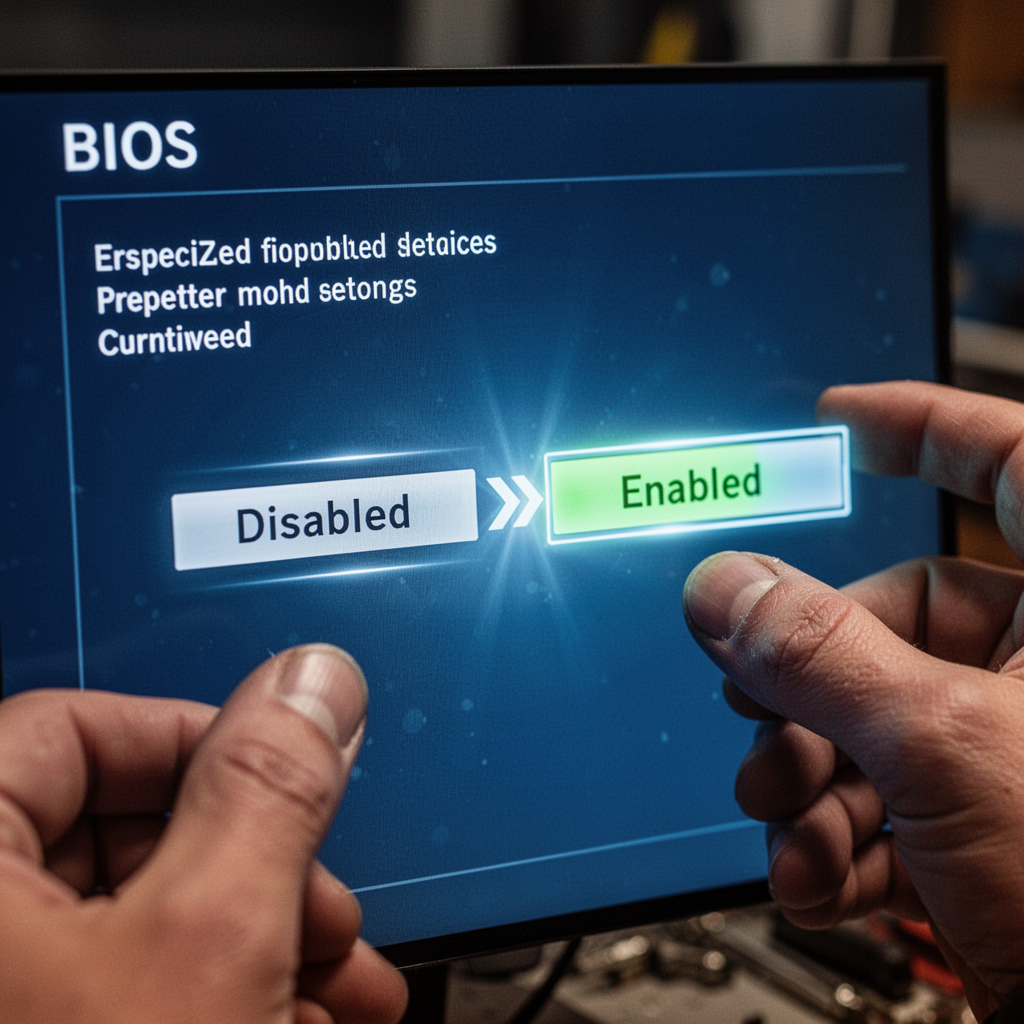
Step 3: Enabling Intel VT-x or AMD-V
This is the core of the operation.
- Select Virtualization and press Enter.
- Change the setting from Disabled to Enabled.
- Some models may have a second setting called VT-d; ensure that is enabled as well for better I/O device pass-through.
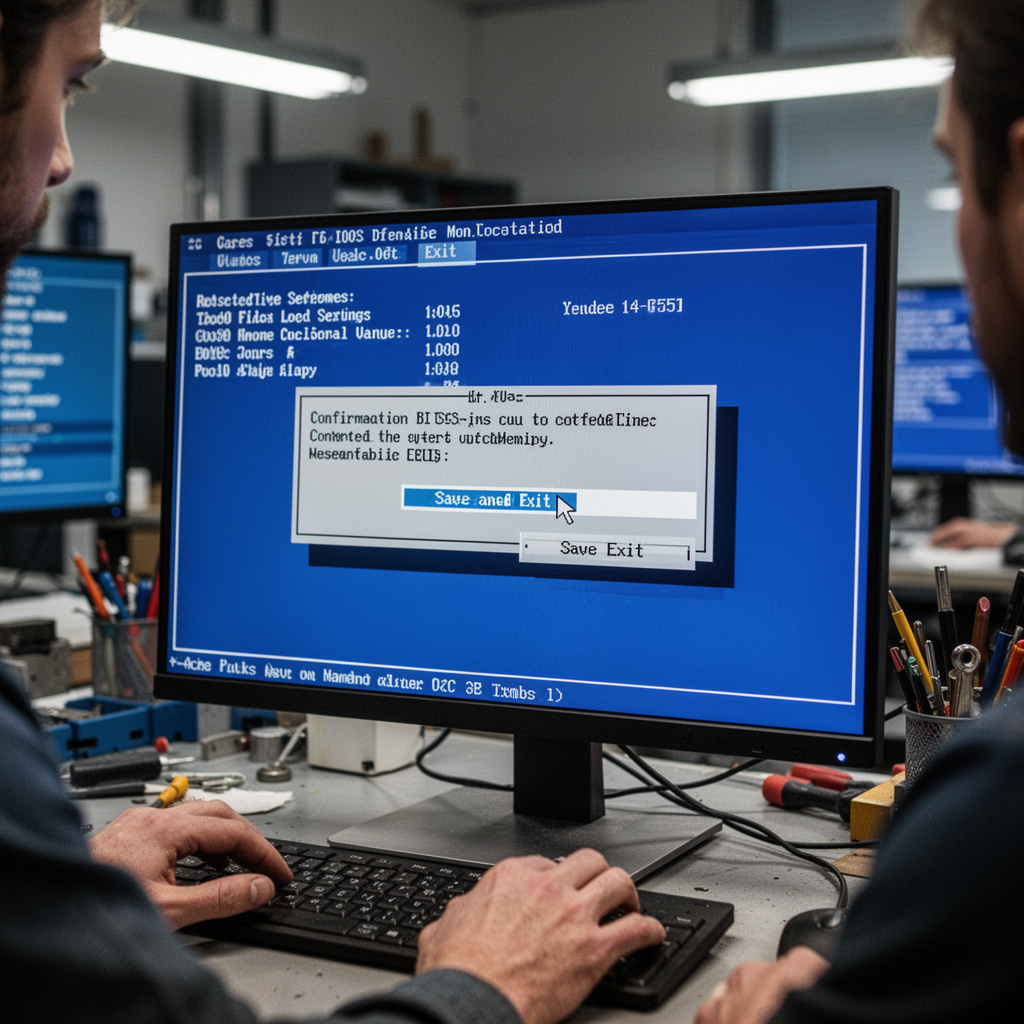
Step 4: Saving and Exiting
You must save your changes for them to take effect.
- Press F10 on your keyboard.
- Select Yes when prompted to save changes and exit. Your ThinkPad will now reboot automatically.
Beginner Tips for BIOS Configuration
- Don't panic: If you get lost in the menus, pressing Esc usually takes you back a level.
- Take photos: Use your smartphone to take a picture of a screen before you change a setting. This helps you revert exactly to the original state if something goes wrong.
- Stay plugged in: Never update BIOS settings or change firmware configurations on battery power; a sudden power loss during a write cycle can "brick" your motherboard.
Common Mistakes to Avoid
- Confusing BIOS with Windows Settings: You cannot enable hardware virtualization inside Windows settings; you must enter the BIOS/UEFI environment.
- Skipping the Save: Many beginners exit the BIOS by hitting the power button or F1 without saving, meaning the changes never take effect. Always use F10.
- Ignoring Updates: If you don't see the virtualization option, your BIOS might be outdated. Visit the Lenovo Support website and run their "System Update" tool to ensure your firmware is current.
Frequently Asked Questions (FAQ)
1. Does enabling virtualization slow down my laptop? No. Enabling it simply makes the CPU's virtualization extensions available. It only uses resources when a VM is actively running.
2. Is it safe to leave virtualization enabled? Yes. It is a standard feature required for modern security features like "Core Isolation" in Windows 11.
3. What if my ThinkPad doesn't have a "Virtualization" option? Your CPU might not support virtualization. Use a tool like CPU-Z to check your processor specifications.
4. Will this void my warranty? No, changing BIOS settings is a standard user function and does not void your warranty.
5. Why is my screen black after exiting BIOS? Sometimes the display needs a second to initialize after a firmware change. Give it 30 seconds.
6. Can I use virtualization on a laptop with only 4GB of RAM? Technically yes, but it won't perform well. Consider upgrading your RAM if you plan to use VMs heavily.
7. Is there a difference between Intel VT-x and AMD-V? They are essentially the same thing from different manufacturers. Both achieve hardware-level virtualization.
8. Do I need to re-enable this after a Windows update? Generally, no. BIOS settings persist across Windows updates and reboots.
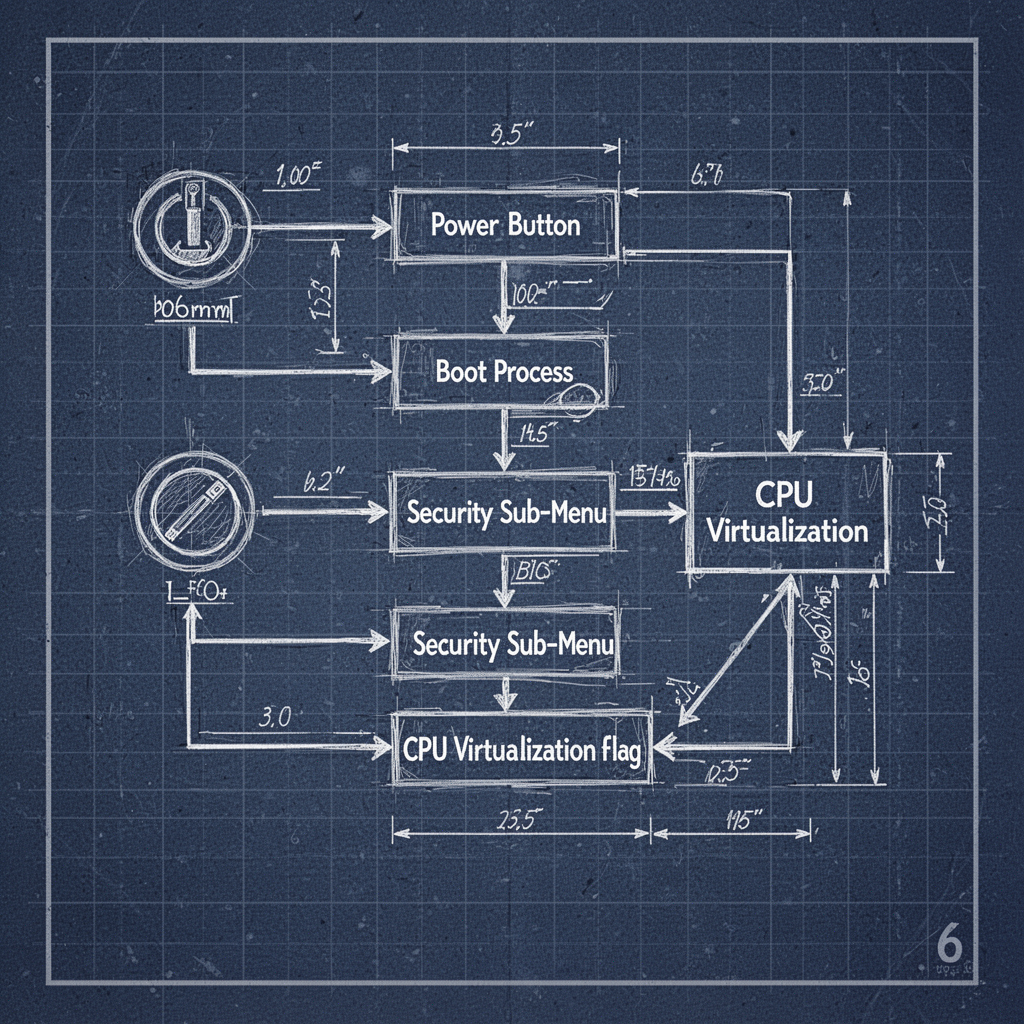
Blueprint: BIOS Virtualization Logic Flow
Safety Tips
- Static Electricity: Before touching the internals of any computer, touch a metal part of your desk to discharge static.
- Proper Lighting: Perform BIOS changes in a well-lit area so you can read the warnings on the screen clearly.
- Authorized Drivers: Never download BIOS updates from third-party websites. Only use the official Lenovo Vantage software or the Lenovo support portal.
Conclusion
Enabling virtualization on your Lenovo ThinkPad is a simple, non-destructive process that unlocks significant power in your machine. By following this guide, you’ve moved past the "Virtualization Not Enabled" error and unlocked the ability to run diverse software environments, from Linux distributions to isolated testing sandboxes.
Remember, your BIOS is the foundation of your hardware experience. Treat it with care, save your changes, and always ensure your system is connected to a stable power source. Now that you have bridged this gap, you are ready to start experimenting with virtual machines and expanding your technical skill set. If you found this tutorial helpful, consider bookmarking it for your next machine setup. Happy computing, and enjoy your new, fully unlocked ThinkPad potential!