There is perhaps no moment more heart-stopping for a computer user than watching a progress bar reach 100% during a Basic Input/Output System (BIOS) update, only for the laptop to reboot into a terrifying, hollow black screen. You can hear the fans spinning and feel the warmth of the processor, but the display remains stubbornly dark. You aren’t alone; this is a common nightmare for laptop owners, often caused by a firmware corruption or a hardware handshake failure.
Before you consider visiting a repair shop or shelling out for a new machine, take a breath. In many cases, the laptop isn't "dead"—it's simply stuck in a boot loop or waiting for a hardware reset. Whether you are using a sleek ultrabook or a high-performance gaming rig, this guide will walk you through the essential troubleshooting steps to wake your device up. We will cover everything from simple power cycling to advanced recovery techniques, ensuring you have the tools necessary to restore your system safely.
Root Causes of a Black Screen Post-Update
Understanding why this happens is the first step toward fixing it. Usually, the issue stems from:
- Incomplete Write Cycles: If the laptop lost power during the update, the BIOS chip might contain corrupted data.
- Peripheral Interference: USB drives, external monitors, or docking stations connected during the update can sometimes cause a conflict during the boot sequence.
- Static Build-up: Capacitors in your laptop may be holding a charge that prevents a "cold boot" from initializing correctly.
- CMOS Battery Failure: The BIOS settings (stored in non-volatile memory) might be corrupted, and the CMOS battery is failing to reset them to default.
Step-by-Step Diagnosis and Solutions
Follow these steps in order. Do not skip the power cycle, as it is the most common fix.
Step 1: The Hard Power Reset
This process, also known as a "power drain," discharges residual electricity from the motherboard.
- Unplug the laptop from the AC Adapter.
- Remove the battery if it is detachable.
- Hold down the power button for a full 60 seconds.
- Reconnect only the power cable (if the battery is external, leave it out for now).
- Press the power button and observe if the BIOS splash screen appears.

Step 2: The External Display Test
Sometimes the BIOS update resets your display output settings to a default that your internal screen isn't currently detecting.
- Connect an external monitor or TV via HDMI.
- Press the "Project" hotkey (usually Windows Key + P or a dedicated Fn key combo).
- If you see the BIOS screen on the external monitor, navigate to the display settings within the BIOS menu and ensure the "Primary Output" is set to "Internal LCD."


Digital Photography Complete Course: Learn Everything You Need to Know in 20 Weeks
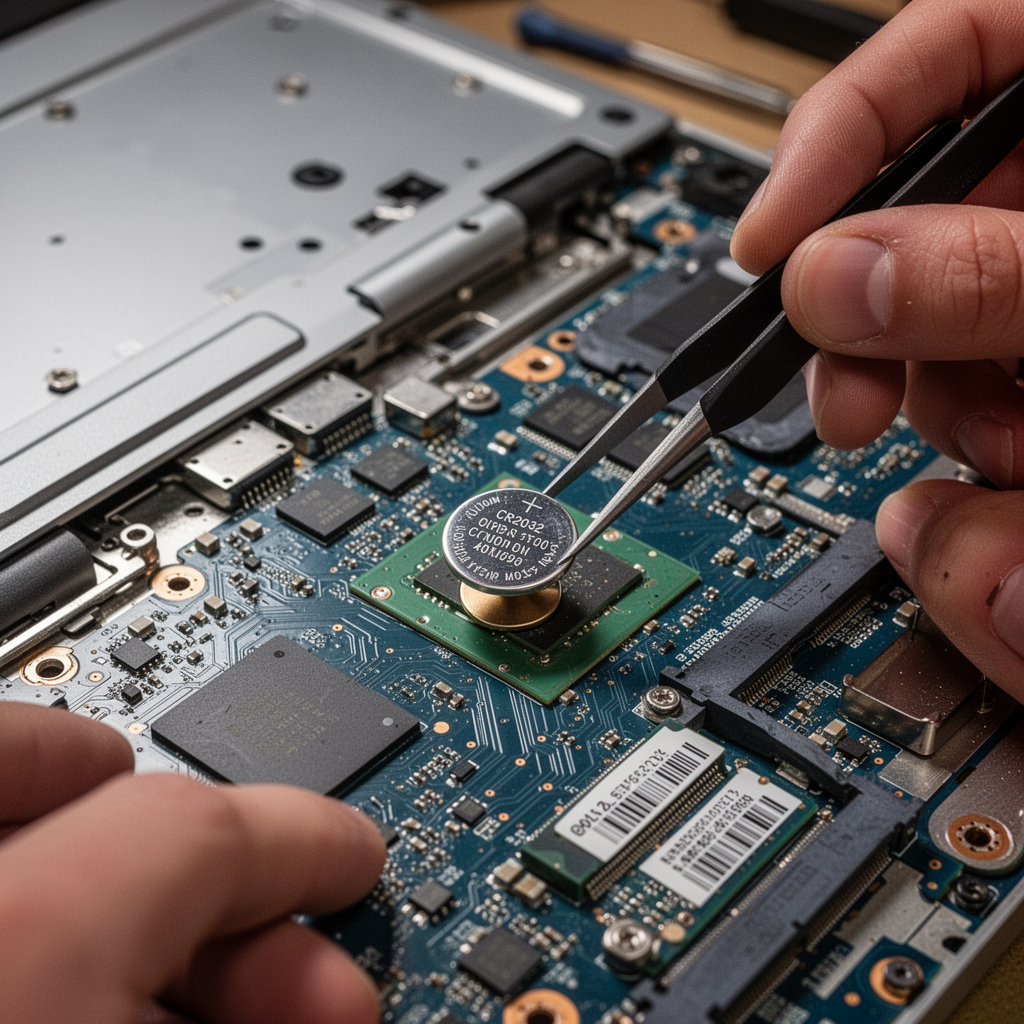
Step 3: Clearing the CMOS Memory
If the BIOS settings are corrupted, you may need to force a reset by removing the CMOS battery.
Note: This requires opening the laptop chassis. Ensure you are wearing an anti-static wrist strap.
- Open the back panel of your laptop.
- Locate the coin-shaped CR2032 battery.
- Remove it carefully and wait for 5 minutes.
- Reinsert the battery and replace the back panel.
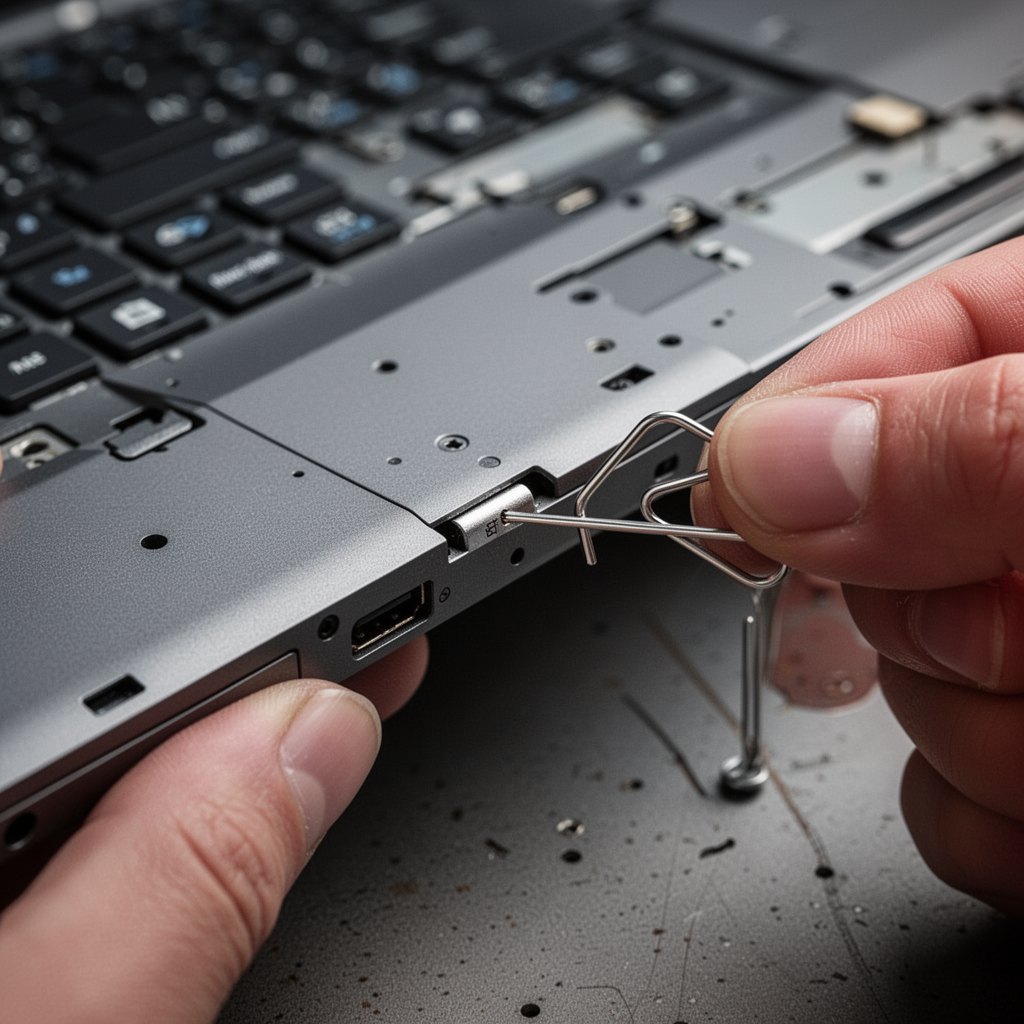
Step 4: Blind BIOS Recovery (Manufacturer Specific)
Most major brands (Dell, HP, Lenovo) have a recovery mode triggered by a specific key combination.
- HP: Press and hold
Windows + Bwhile powering on. - Dell: Hold
Ctrl + Escwhile plugging in the power. - Lenovo: Use a paperclip to press the Novo button (a tiny pinhole on the side).
When to Call a Professional
If you have tried the hard reset, the CMOS clearing, and the recovery key combinations to no avail, you may have a "bricked" BIOS chip. This happens when the flash memory is physically corrupted and requires a BIOS Programmer—a specialized tool that flashes the chip directly. At this point, it is time to consult a professional or check if your device is still under manufacturer warranty. Do not attempt to solder the motherboard yourself unless you have advanced experience.
Beginner Tips and Common Mistakes
- Always Plug In: Never update a BIOS on battery power alone. A sudden shutdown during the process is the primary cause of a black screen.
- Disable BitLocker: If you have drive encryption enabled, it can sometimes interfere with boot processes after a firmware change. Suspend BitLocker temporarily before a BIOS update.
- Patience is Key: Some BIOS updates appear frozen but are simply writing large data blocks. Wait at least 20 minutes before forcing a shut down.
- Avoid "Beta" BIOS: Unless you are experiencing a critical hardware issue, avoid installing beta or "experimental" BIOS versions from manufacturer forums.
Frequently Asked Questions (FAQ)
- Will I lose my files if I fix the BIOS? No. The BIOS update manages hardware communication. Your hard drive/SSD remains untouched unless the drive itself has a hardware failure.
- How long should a BIOS update take? Usually 2-5 minutes. If it takes longer than 30 minutes, it is likely frozen.
- Can a dead battery cause a black screen? Yes. If the battery is dead and the AC adapter is loose, the update will fail mid-way.
- Is my laptop permanently broken? Rarely. Even "bricked" BIOS chips can often be reflashed by service centers.
- Do I need an anti-static wrist strap? It is highly recommended to prevent static electricity from damaging sensitive motherboard components.
- Can I use a USB flash drive to fix this? Yes, many manufacturers allow you to create a "BIOS Recovery USB" on another computer.
- What if my screen is black but I hear sounds? This suggests the laptop is booting, but the display driver or backlight is the issue. Focus on external monitors.
- Does an SSD swap help? No. The BIOS runs before the operating system, so the SSD is not involved in this specific issue.
Blueprint: BIOS Recovery Layout
Safety Tips
- Disconnect Power: Always unplug the device and remove the battery before touching internal components.
- Anti-Static Precautions: Work on a non-conductive surface like a wooden desk. Avoid carpeted areas.
- Don't Force Components: If a cable or panel doesn't budge, look for hidden screws. Forcing it will cause physical damage.
- Manufacturer Guides: Keep your specific laptop model's service manual open on a secondary device while working.
Conclusion
A black screen after a BIOS update is undeniably stressful, but it is rarely a terminal event. By following the systematic approach of power cycling, clearing CMOS memory, and utilizing manufacturer-specific recovery keys, most users find their way back to a functional desktop within minutes. Remember that preparation is your best defense: always ensure your laptop is plugged into a stable power source and that you have a recovery strategy in place before flashing new firmware.
If you find yourself stuck, don't rush. Take your time with each step and prioritize safety when handling internal hardware. For those who enjoy tinkering, investing in a high-quality repair toolkit is a great way to ensure you are prepared for future maintenance. Your data is safe, your hardware is likely recoverable, and with a little patience, you will be back to work in no time.