The Dell XPS series is arguably the finest Windows hardware on the market. With its stunning InfinityEdge display, premium chassis, and top-tier build quality, it is a favorite for developers and power users alike. However, many professionals find themselves torn between the essential compatibility of Windows 11 and the raw power and customization of Linux. Why choose when you can have both?

Dell XPS 13 9345 Laptop, Copilot+ AI PC (13.4" FHD+ 120Hz, Snapdragon X Plus (> Intel i7-1355U), 16GB 8448MT/s RAM, 1TB SSD), Thin & Light, 27 Hours Battery Life, IR Webcam, Wi-Fi 7, Win 11 Pro
Setting up a dual-boot configuration on your Dell XPS allows you to utilize Windows for specialized software, gaming, or Office suite requirements, while booting into Linux for programming, kernel-level tinkering, or privacy-focused tasks. It’s the ultimate "best of both worlds" scenario. This guide will walk you through the technical nuances of BIOS settings, partitioning, and the GRUB bootloader to ensure your dual-boot system is stable, fast, and reliable. Let’s unlock the full potential of your machine without sacrificing your existing data.

XPS 14 Premium Laptop DA14250-14.5-inch Touch 3.2K OLED 48-120Hz Display, Intel Core Ultra 7 255H, Intel Arc Graphics, 32GB Memory, 1TB SSD, Backlit English Keyboard with Fingerprint Reader
Why Dual Booting Matters for Dell XPS Owners

16 Laptop DC16251-16.0-inch 16:10 2K Touchscreen Display, Intel Core 7 150U Processor, 16GB DDR5 RAM, 1TB SSD, Intel Graphics, Windows 11 Home, 1 Year Basic Onsite Service, Cloud Blue
For the modern professional, hardware is an investment. The Dell XPS is engineered for high performance, yet many users never tap into the full potential of their system’s architecture. Dual booting provides a flexible environment where your hardware isn't locked into a single ecosystem. Whether you are a web developer who needs a native Docker environment, or a data scientist requiring specific Linux-only libraries, a dual-boot system ensures you are never bottlenecked by your OS choice.

Dell XPS 13 9345 Laptop, Copilot+ AI PC (13.4" FHD+ 120Hz, Snapdragon X Plus (> Intel i7-1355U), 16GB 8448MT/s RAM, 512GB SSD), Thin & Light, 27 Hours Battery Life, IR Webcam, Wi-Fi 7, Win 11 Pro
Tools Required
- USB Flash Drive: At least 16GB, preferably USB 3.0 or higher.
- Linux Distribution: Ubuntu 24.04 LTS (recommended for stability) or Fedora.
- Rufus or BalenaEtcher: To create a bootable installation media.
- Dell XPS Laptop: With at least 50GB of free space on your primary SSD.
- External Hard Drive: To perform a full system backup before starting.

XPS 13 9345 Business Laptop, 13.4" 2K Copilot+ AI PC, Snapdragon X Elite, 16GB LPDDR5x-8448MT/s RAM, 512GB PCIe SSD, Anti-Glare, Backlit, Fingerprint, WiFi 7, Bluetooth 5.4, Win11 Pro, Platinum
Step-by-Step Tutorial: Installing Linux Alongside Windows
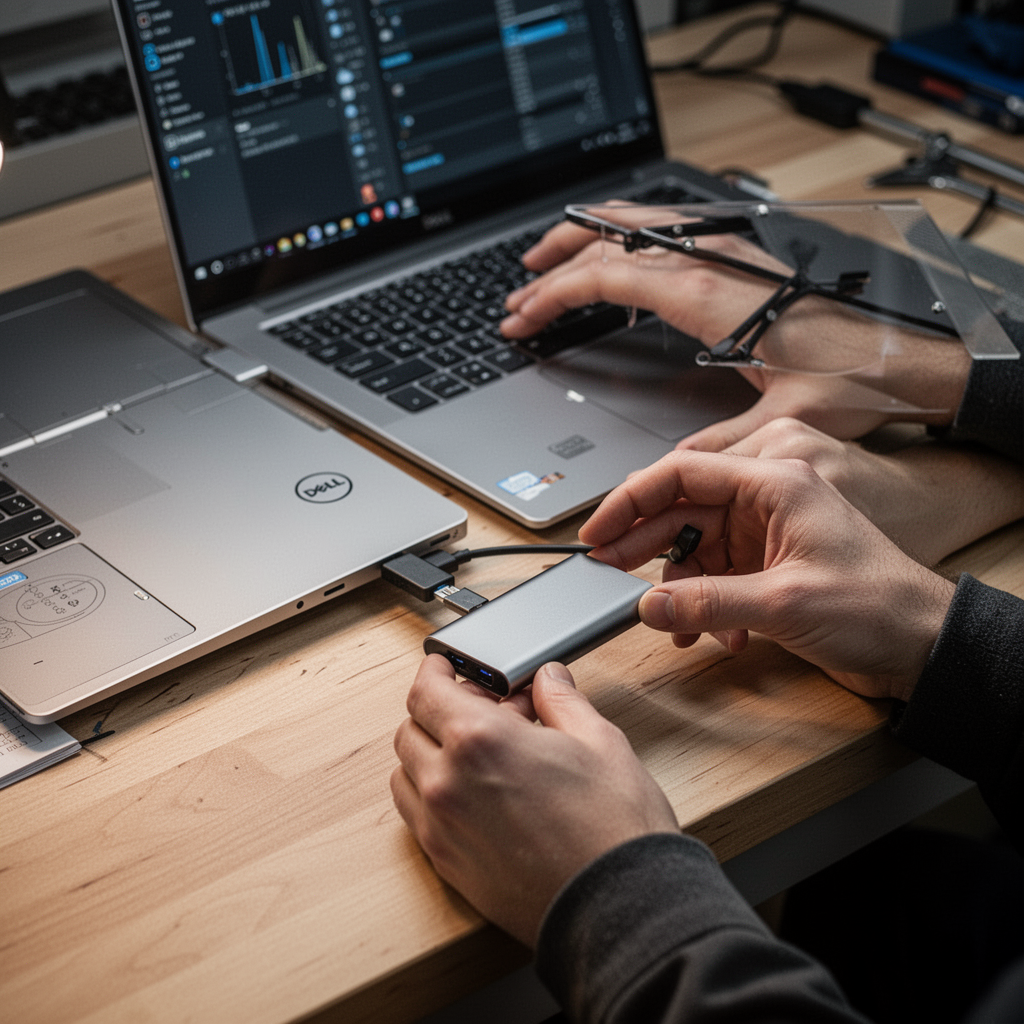
Step 1: Backup and Preparation
Before modifying your partition table, it is non-negotiable to back up your data. Use an external SSD to mirror your Windows drive.
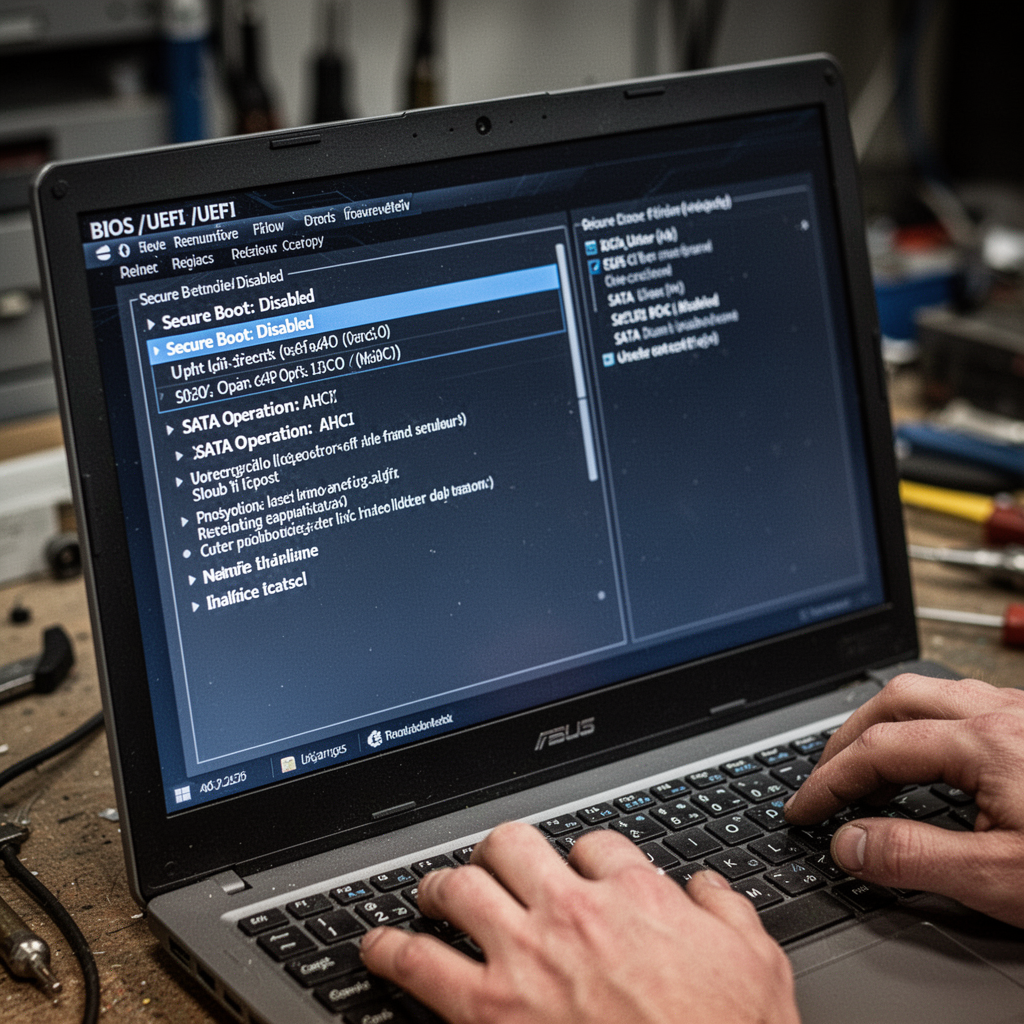
Step 2: BIOS Configuration
Restart your Dell XPS and tap F2 to enter the BIOS. You must disable "Secure Boot" and ensure the SATA Operation is set to "AHCI" (rather than RAID/Intel RST) to ensure the Linux kernel can see your NVMe drive.
Step 3: Create Bootable Media
Download your preferred Linux ISO. Use a tool like Rufus to burn the image onto your USB drive. Ensure the partition scheme is set to "GPT" for UEFI systems.

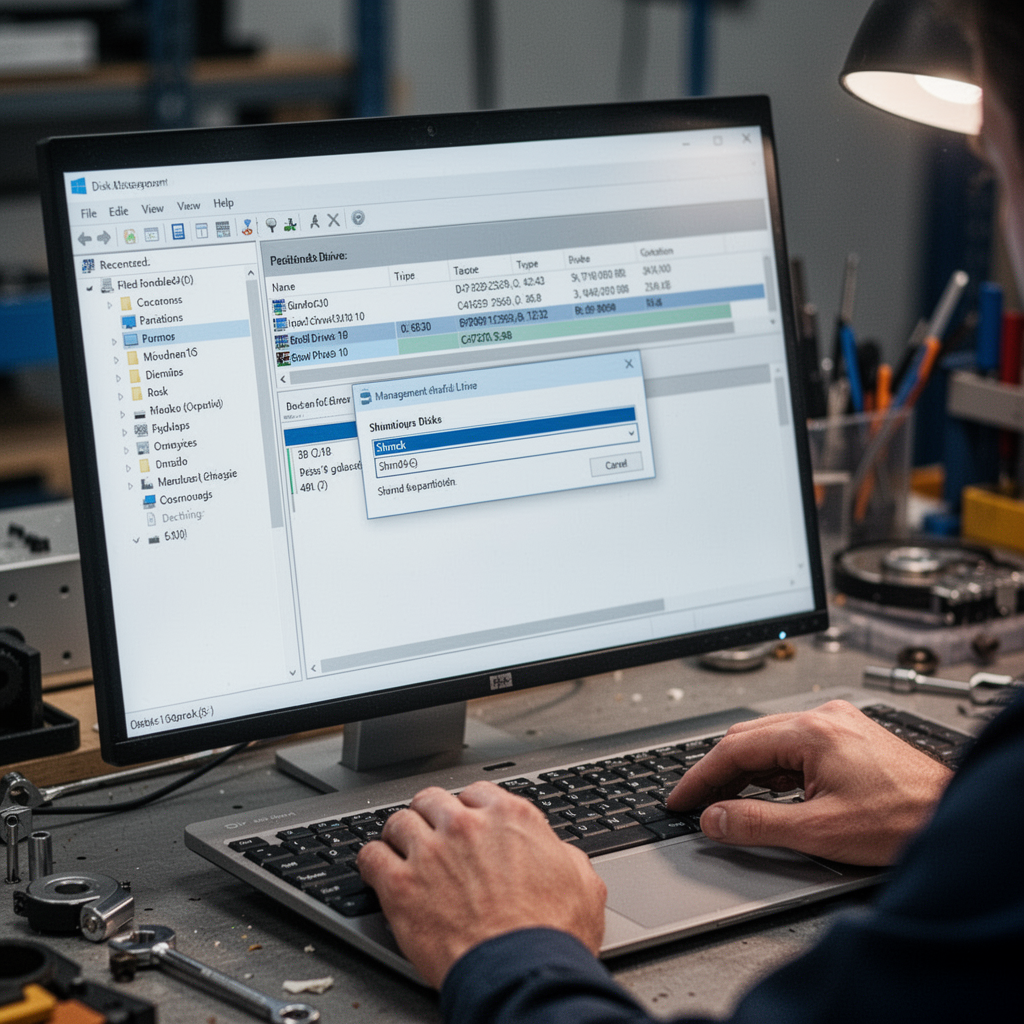
Step 4: Partitioning the Drive
In Windows, right-click the Start button and select Disk Management. Right-click your main partition (C:) and choose "Shrink Volume." Free up at least 60-100GB for your Linux installation.
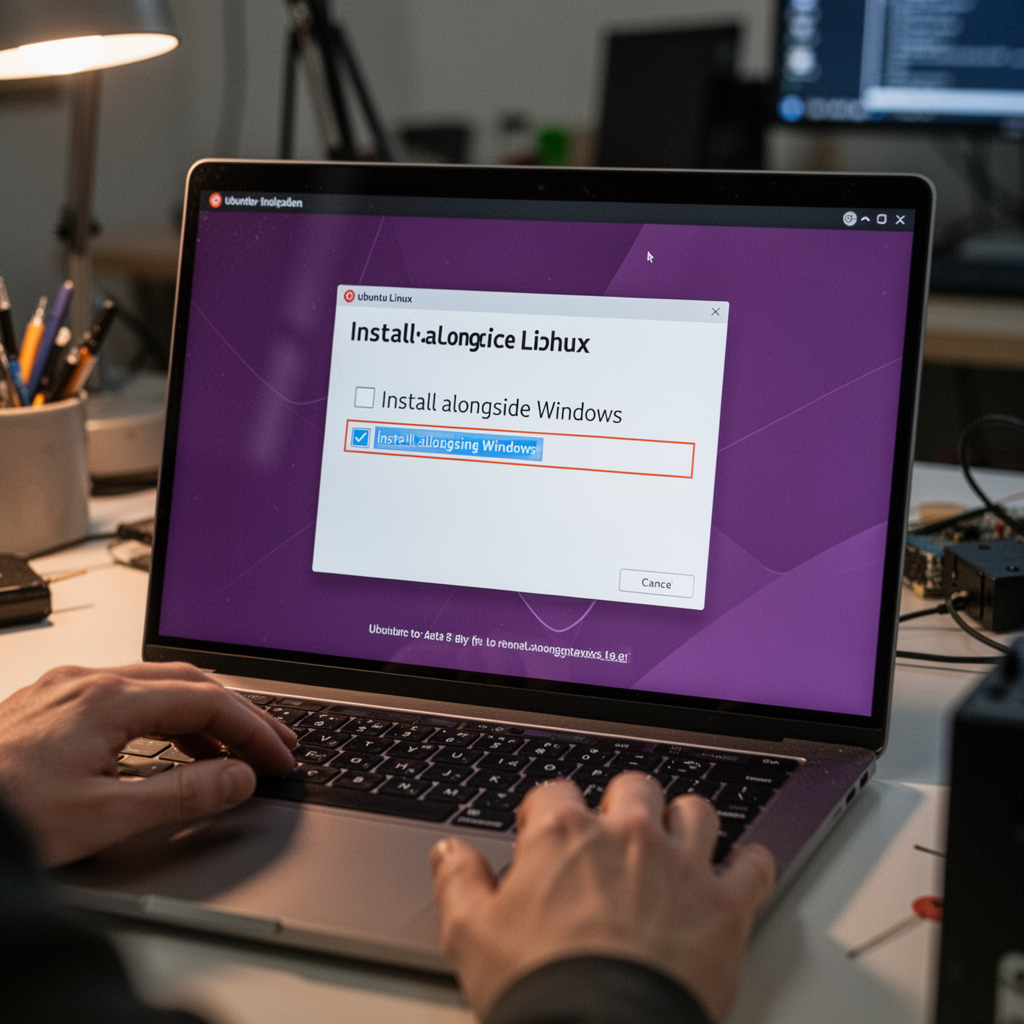
Step 5: Booting into the Installer
Restart your XPS and tap F12 repeatedly to access the Boot Menu. Select your USB drive. Follow the Linux installation wizard, and crucially, select the option to "Install alongside Windows Boot Manager."
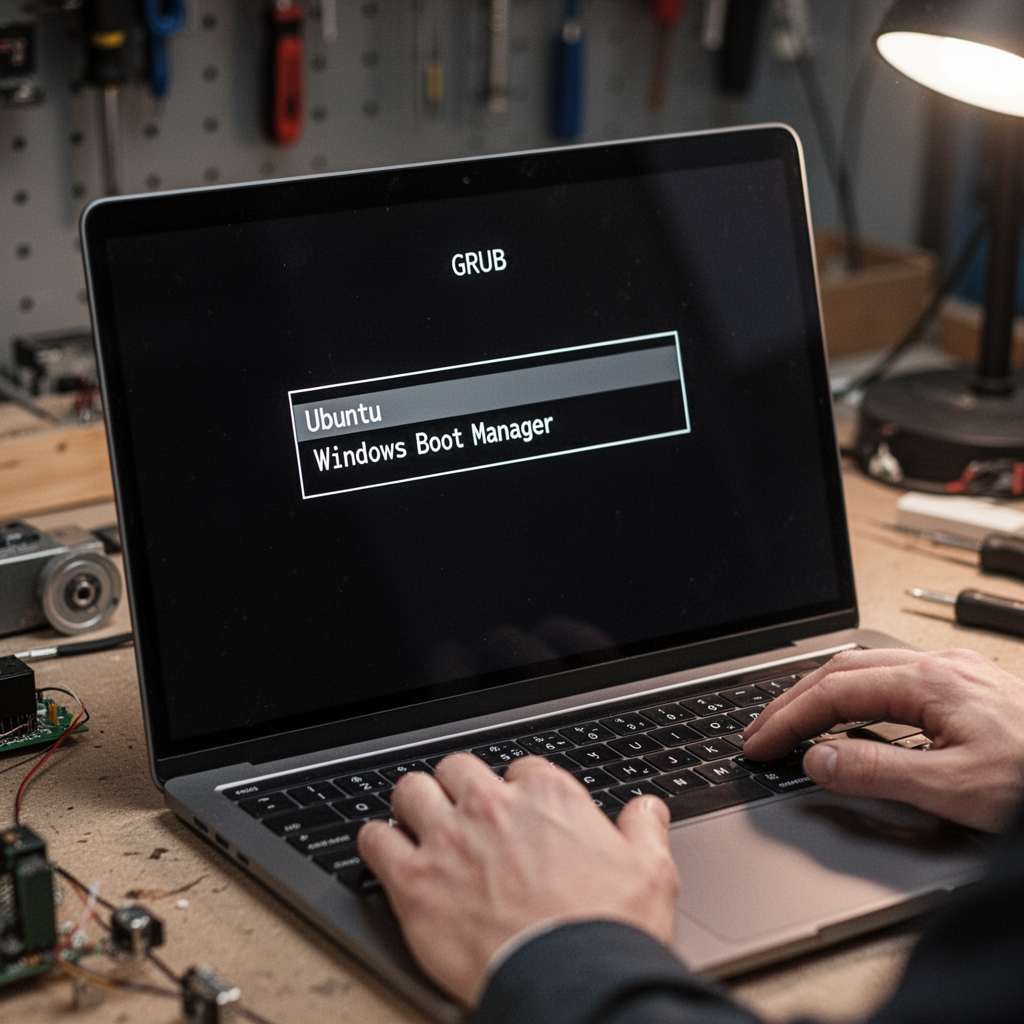
Step 6: GRUB Configuration
Once installed, the GRUB bootloader will automatically appear on startup, allowing you to choose between Linux and Windows.
Beginner Tips for Dual Booting
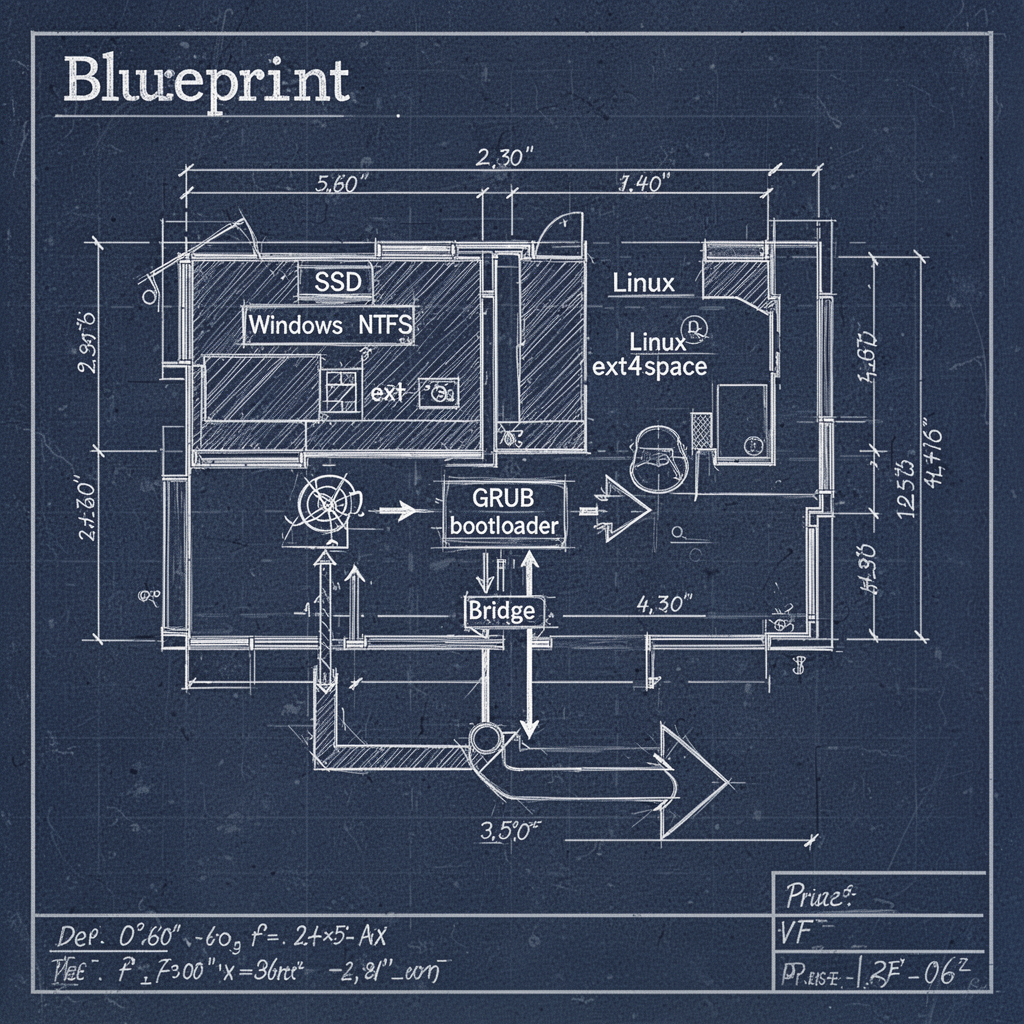
- Keep your partitions separate: Don't share data partitions between Windows and Linux unless you are comfortable with filesystem differences (NTFS vs ext4).
- Disable Windows Fast Startup: This feature puts the system in a hybrid sleep state, often locking the disk and preventing Linux from mounting it. Disable it in Windows Power Options.
- Update your BIOS: Dell frequently releases patches that improve Linux kernel compatibility for XPS models.
Common Mistakes to Avoid
- Ignoring the RAID/AHCI setting: If you try to install Linux while your BIOS is set to RAID, the installer will likely fail to detect your SSD.
- Overwriting the Windows Partition: Always verify the "installation type" screen. If it says "Erase disk," stop immediately.
- Not using an LTS release: Beginners should stick to Long Term Support (LTS) releases of Linux to avoid breaking their bootloader with experimental updates.
FAQ: Frequently Asked Questions
1. Will dual booting void my Dell warranty? No, software modifications do not void your hardware warranty. However, Dell technical support may ask you to remove Linux if you call them regarding a Windows-specific software issue.
2. Is it safe to delete the Linux partition later? Yes, but you must fix the Windows Boot Manager first, or you will be left with a broken GRUB error on startup.
3. Which Linux distro is best for Dell XPS? Ubuntu or Fedora are highly recommended because they have excellent driver support for the specialized hardware found in XPS models.
4. Can I access my Windows files from Linux? Yes, Linux can read and write to NTFS partitions, allowing you to move files between OS environments effortlessly.
5. How much space should I allocate? If you plan to install heavy applications like Docker or IDEs, aim for at least 100GB.
6. Does the XPS fingerprint reader work on Linux? Support is improving, but it depends on the specific hardware generation. Check your specific XPS model on the Arch Wiki for details.
7. Why is my time wrong when I switch between OSs? Windows and Linux handle hardware clocks differently (UTC vs Local Time). You can fix this with a simple terminal command in Linux.
8. Can I use BitLocker? Yes, but be aware that if you lose your recovery key, accessing files from the Linux side can be complex.
Safety Tips
- Static Electricity: When opening your laptop to potentially upgrade hardware, use an anti-static wrist strap.
- Power: Always ensure your XPS is plugged into a power source during the Linux installation to avoid mid-process shutdowns.
- Data Integrity: Never interrupt the partition resizing process in Windows, as this can lead to data loss.
Conclusion
Dual booting Linux on your Dell XPS is a transformative experience. By following this guide, you have gained the ability to shift between the accessibility of Windows and the professional-grade utility of Linux, effectively turning your laptop into a workstation that can handle any task you throw at it. Remember, the key to a successful setup is meticulous preparation—always back up your files, take your time with BIOS settings, and choose a stable Linux distribution.
If you find yourself running out of storage space, remember to check out the Samsung 990 PRO to keep your system snappy, and consider a reliable Anker USB-C hub to ensure your hardware ports remain versatile. Whether you are a student, a developer, or a tech enthusiast, your Dell XPS is now officially a powerhouse capable of dual-operating environments. Take the leap, customize your workspace, and enjoy the true freedom that Linux brings to your premium hardware. Ready to optimize your workflow? Start your installation today!