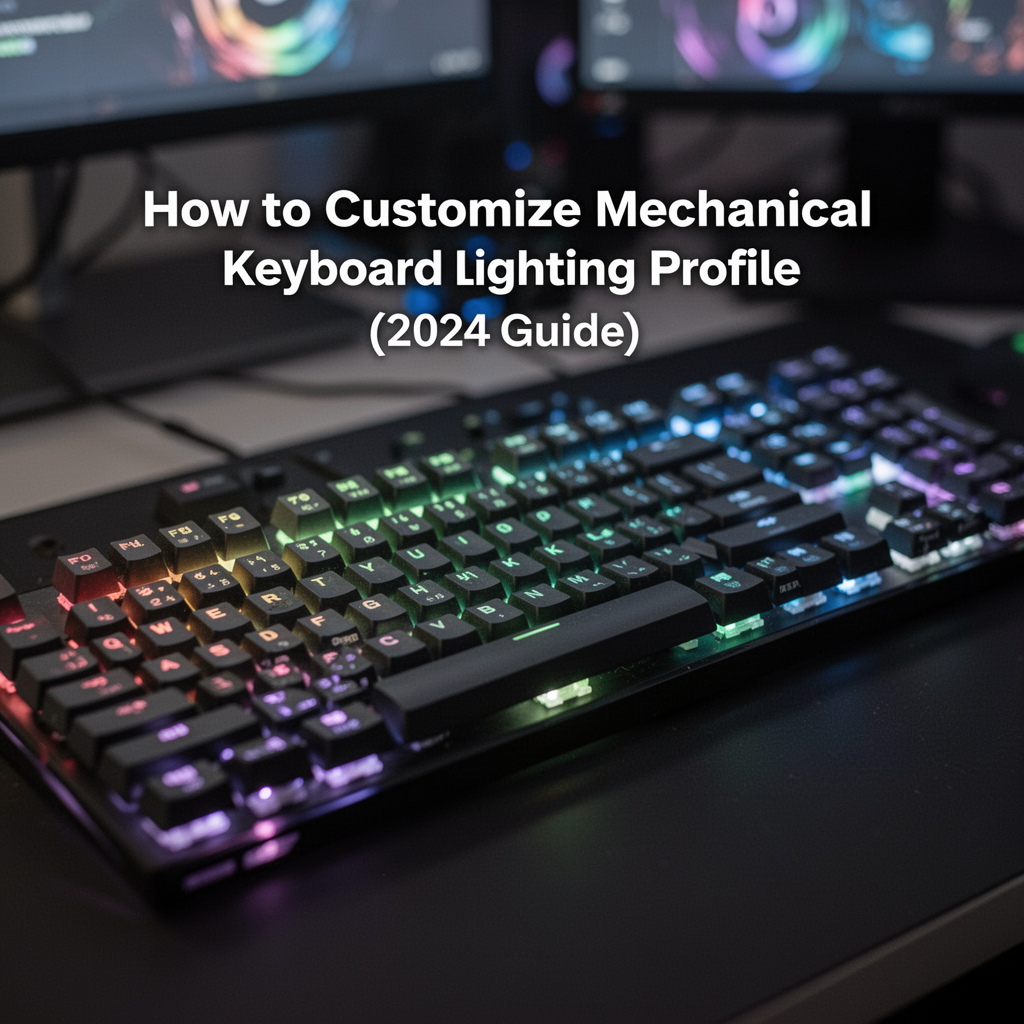
Your mechanical keyboard is more than just a peripheral; it is the command center of your digital life. Whether you are a competitive gamer needing to highlight essential hotkeys or a content creator looking to match your workspace aesthetic, understanding mechanical keyboard lighting customization is a game-changer. Nothing feels quite as satisfying as a desktop setup bathed in a soft, ambient glow that perfectly matches your mood or your in-game action.
However, many users settle for the default "rainbow" cycle because they assume that changing lighting profiles is overly technical or requires coding skills. The reality? Customizing your lighting is easier than ever, thanks to intuitive software suites and onboard hardware controls. In this guide, we will walk you through the essential steps to turn your keyboard from a basic input device into a stunning visual centerpiece. We will explore how to navigate manufacturer software, manage zones, and sync effects to create a cohesive PC gaming environment that reflects your personal style.
Why Lighting Customization Matters
Beyond the "cool factor," customizing your lighting profile serves functional purposes. High-end lighting management allows for per-key illumination, which is critical for complex games where you need to locate specific keybinds at a glance. By color-coding your WASD cluster, your inventory keys, and your skill cooldowns, you reduce cognitive load during high-pressure matches.
Tools Required
To get started, you will need a few essential items and software components:
- A compatible Mechanical Keyboard: Ensure your model supports RGB or backlighting.
- Manufacturer Software: Download the proprietary suite (e.g., Corsair iCUE, Razer Synapse, Logitech G Hub).
- A stable USB connection: Always plug directly into your PC's motherboard port for consistent power delivery.
- System Drivers: Ensure your motherboard and USB controller drivers are updated.
Step-by-Step Tutorial: Customizing Your Lighting
Step 1: Install and Launch Manufacturer Software
Before tweaking anything, you must install the software provided by the manufacturer. Without this, you are limited to basic onboard hardware shortcuts (usually Fn + F-keys).
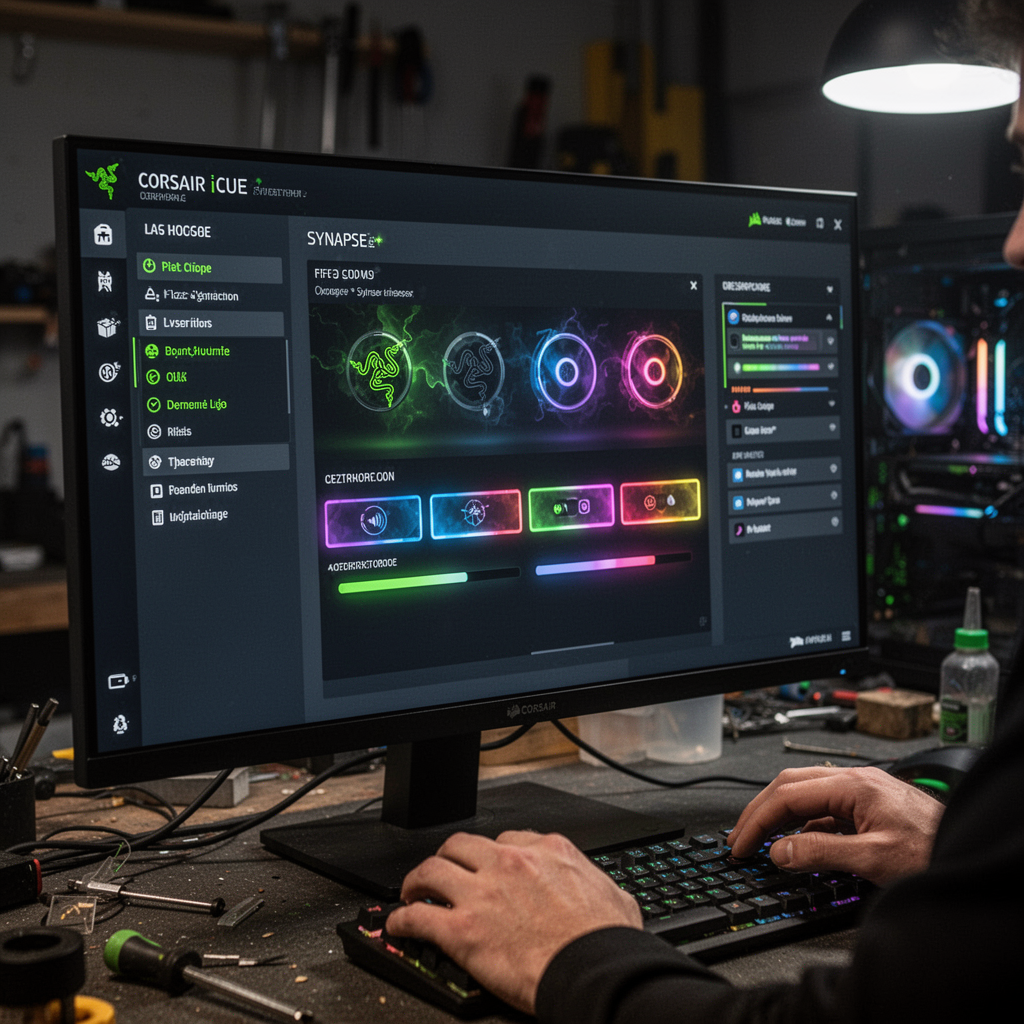
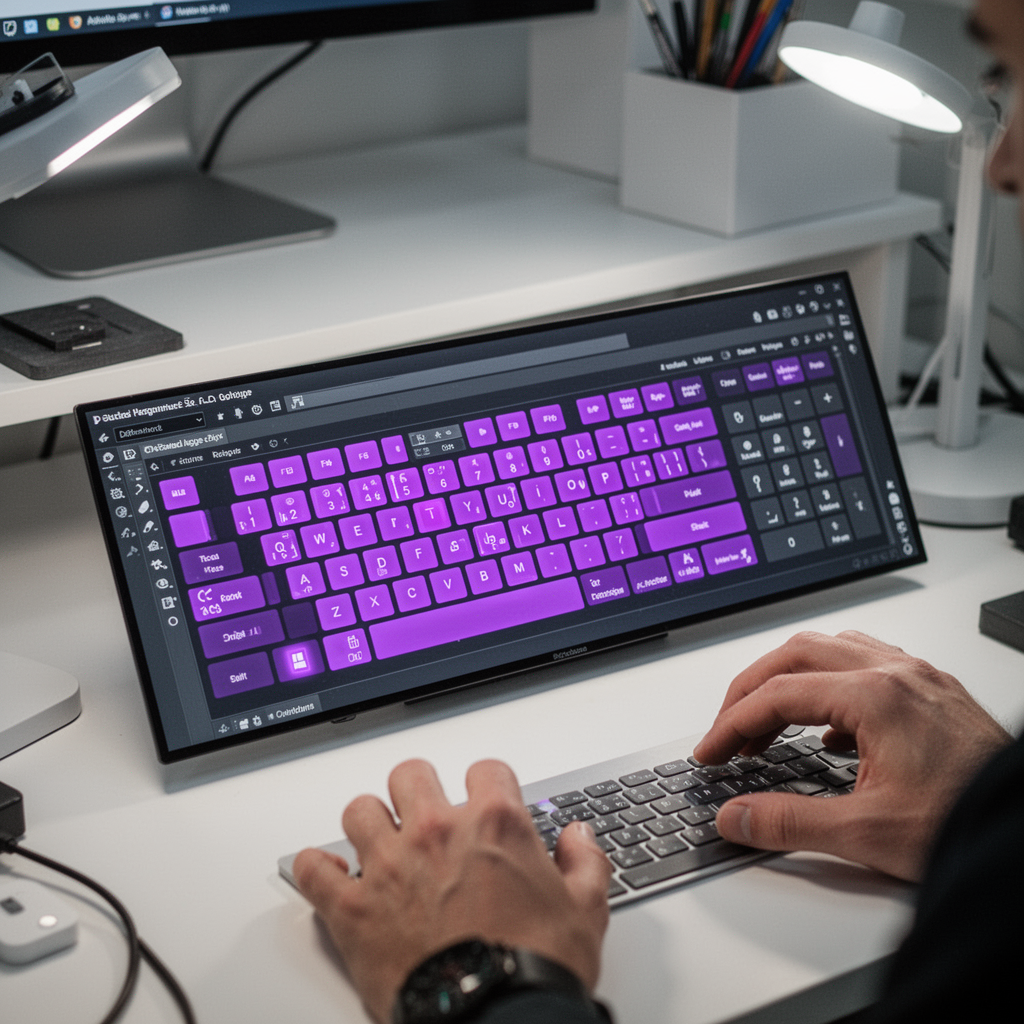
Step 2: Navigate to the Lighting/Lighting Effects Tab
Once the software identifies your hardware, look for the "Lighting" or "Lighting Studio" tab. Most modern software uses a visual representation of your keyboard to represent the zones or individual keys.
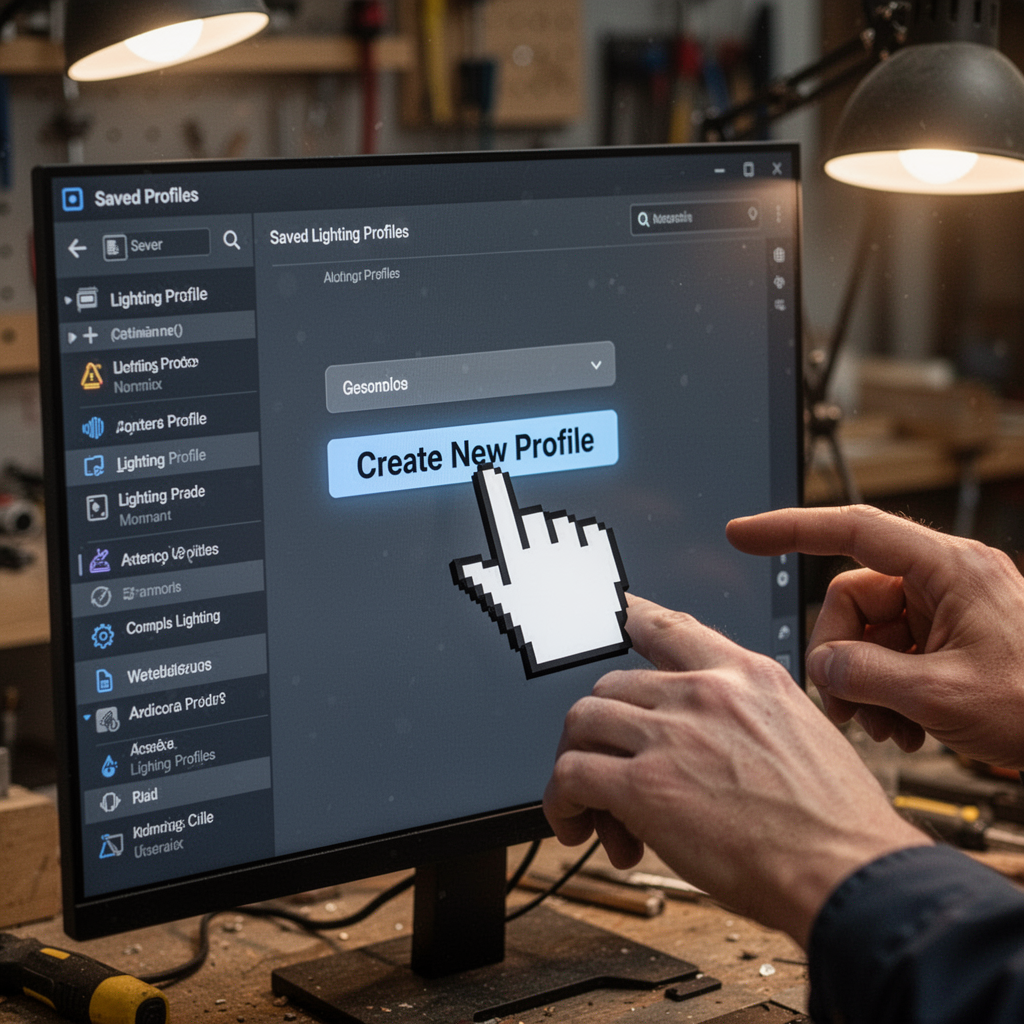
Step 3: Create a New Profile
Never edit the "Default" profile. Always create a new one so you can reset to factory settings if you make a mistake. Label it clearly (e.g., "FPS Mode" or "Workspace").
Step 4: Layering and Zonal Lighting
Select specific keys using your mouse. Apply a "Static" color for constant light, or "Reactive" effects for when a key is pressed. You can stack these layers to create complex animations.

Step 5: Save to Onboard Memory
If you want your lighting profile to work even when the software isn't running (or on a different computer), you must "Save to Onboard Memory." This writes the configuration directly to the keyboard's internal chip.
![]()
Beginner Tips
- Keep it subtle: Don't use 100% brightness; 60-70% is usually enough to look premium without causing eye strain.
- Use Complementary Colors: Stick to a color palette of 2-3 colors for a professional look rather than a chaotic rainbow.
- Sync with your Mouse: Try to match the lighting effect speed of your mouse with your keyboard for a seamless desktop flow.
Common Mistakes to Avoid
- Forgetting to Save: Many users spend hours on a profile only to lose it when they close the software because they didn't write it to the internal memory.
- Over-layering Effects: Too many moving lights can be distracting and may cause the software to stutter.
- Ignoring Updates: Firmware updates are essential; they often include new lighting modes or bug fixes for LED flickering.
FAQ: Mechanical Keyboard Lighting
1. Can I customize my keyboard if it doesn't have software? Yes, most keyboards have hardware shortcuts (e.g., Fn + Insert/Home/Delete). Check your user manual for the specific key combinations.
2. Does RGB software slow down my PC? Modern software like iCUE or Synapse has become much leaner. However, if you are on a low-end system, consider setting lighting to onboard memory and closing the background app.
3. Why are my keys flickering? This is often a power issue. Ensure the keyboard is plugged into a USB 3.0 port or directly into the motherboard rather than a passive hub.
4. Can I sync my keyboard with my screen colors? Yes, most premium suites feature "Ambient" or "Screen Mirroring" modes that sample the colors on your monitor in real-time.
5. Is there open-source software for all keyboards? Yes, projects like OpenRGB allow you to control lighting across many brands in one single interface.
6. Does lighting customization consume more battery on wireless keyboards? Significantly. If you are using a wireless mechanical keyboard, dim the lights or turn them off to extend battery life by up to 500%.
7. How do I match my lighting to my room's decor? Pick a dominant color from your desk setup (like your wall art or mousepad) and use it as your base color, then use a lighter shade as an accent.
8. Can I damage my LEDs by keeping them on? Modern LEDs are rated for thousands of hours. You are more likely to replace the keyboard due to switch wear before the lights burn out.
Blueprint: Technical Layout of Lighting Control

Safety Tips
Always turn off your PC before unplugging or performing deep hardware maintenance on your keyboard. Avoid spilling liquids near the switches while testing, as mechanical keyboards—while durable—are susceptible to short circuits from conductive liquids.
Conclusion
Customizing your mechanical keyboard lighting profile is one of the most rewarding ways to personalize your PC gaming experience. By following these steps—installing the right software, utilizing layering, and saving to onboard memory—you transform your hardware into a reflection of your personality. Whether you prefer a minimalist white glow for productivity or a reactive, multi-colored explosion for gaming, the power is now in your hands.
Don’t be afraid to experiment. Start with a simple static color scheme and slowly work your way up to complex, synced animations. If you are looking to upgrade your gear, consider investing in a keyboard with robust software support to make this process seamless. Your desk is your creative workspace; make sure it lights up exactly the way you want it to!