Streaming has evolved from a niche hobby into a high-stakes professional craft. Whether you are building a brand on Twitch, hosting high-fidelity webinars on Zoom, or creating content for YouTube, the built-in camera on your laptop is likely failing you. Laptop manufacturers prioritize thin bezels and battery life over optical quality, resulting in grainy, washed-out, or poorly lit video.
If you are serious about your digital presence, upgrading to a dedicated external webcam is the most impactful technical improvement you can make. The right camera doesn't just improve your image; it builds trust with your audience through professional-grade clarity and reliable low-light performance. In this guide, we will break down the essential specs you need to look for, the best models currently available on the market, and how to optimize your setup to ensure you look like a pro, even if you’re streaming from a humble home office. Let’s dive into how you can transform your stream's visual quality today.
What to Look for in a Streaming Webcam
Selecting the right webcam requires more than just picking the one with the highest price tag. You need to align the hardware with your specific use case.
Resolution and Frame Rate
For most streamers, 1080p at 60fps (frames per second) is the gold standard. While 4K options exist, streaming platforms like Twitch often cap incoming feeds at 1080p to preserve bandwidth. However, a 4K camera is an excellent investment if you plan to record local high-resolution footage for later editing.
Field of View (FOV)
Your FOV determines how much of your room is visible behind you.
- 65-78 degrees: Ideal for a tight, professional headshot.
- 90 degrees: Perfect for showing off your gaming setup or desk environment.
- Wide-angle (100+ degrees): Only necessary for group calls or standing presentations.
Low-Light Performance
This is where premium webcams outshine cheap alternatives. Look for sensors that offer High Dynamic Range (HDR) and manual exposure control. A larger sensor size allows more light to hit the chip, reducing the digital "noise" or grain that occurs in dim rooms.
Best Options by Budget
Finding the right gear depends on your current setup and long-term goals. Here is how the market breaks down.
| Feature | Budget Pick ($50-$80) | Mid-Range ($100-$180) | Professional ($200+) |
|---|---|---|---|
| Resolution | 1080p/30fps | 1080p/60fps | 4K/30fps |
| Autofocus | Fixed | Fast/Precise | Advanced AI Tracking |
| Software | Basic | Comprehensive | Plug-and-Play Pro |
Entry-Level: Reliability on a Shoestring
If you are just starting, you don't need a cinema camera. You need a device that is better than your laptop's integrated sensor. Look for cameras that offer plug-and-play compatibility, meaning they work immediately without complex driver installations.
Mid-Range: The Sweet Spot
This category is where most professional streamers reside. These cameras offer the best balance of frame rate and image processing. If you move around while talking, look for models with active autofocus that tracks your eyes, ensuring you never go blurry.
High-End: The Content Creator's Choice
If your content is your product, invest here. Features like uncompressed video, interchangeable lenses, or specialized AI-based background removal save you hours in post-production.
Setting Up Your Webcam for Success
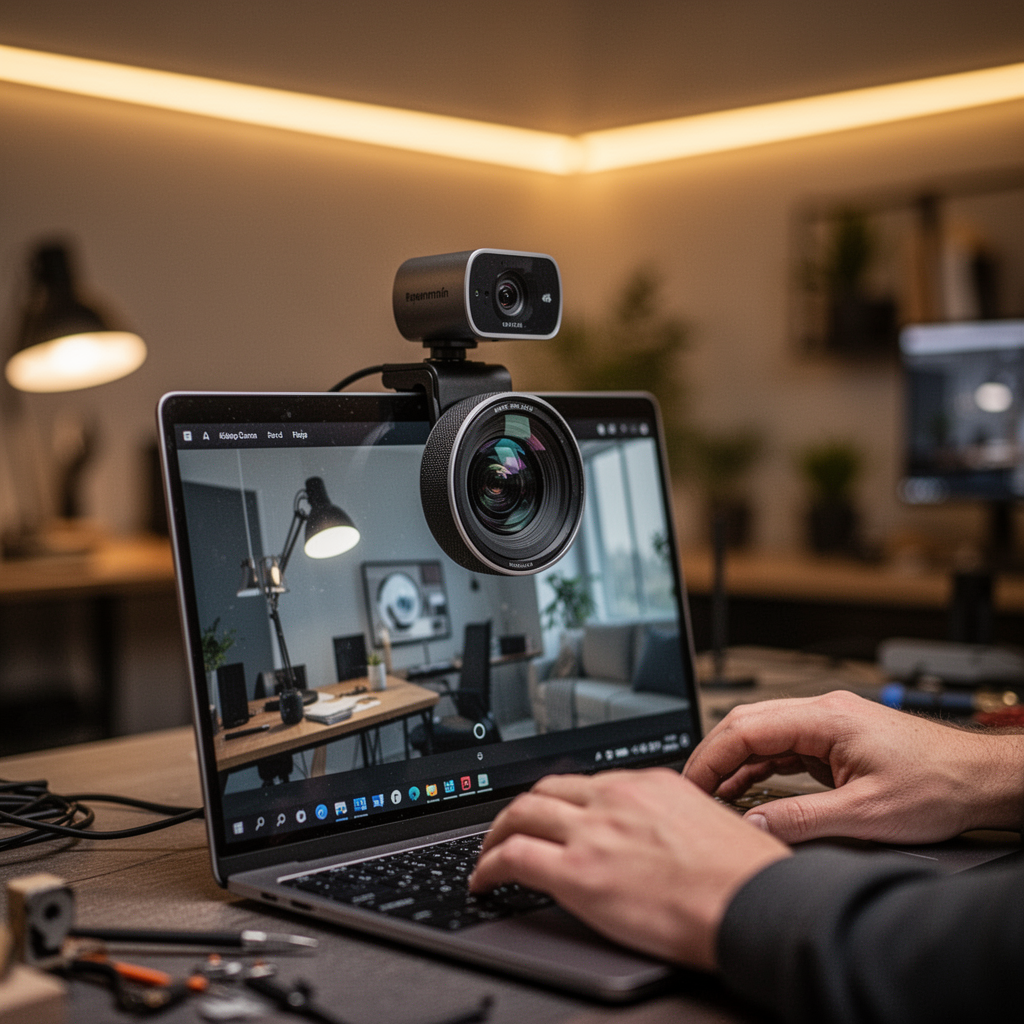
Step 1: Positioning the Camera
Place the webcam at or slightly above eye level. Looking down at a camera makes your neck look shorter and is generally unflattering. Use a tripod or a monitor arm to keep the camera stable.
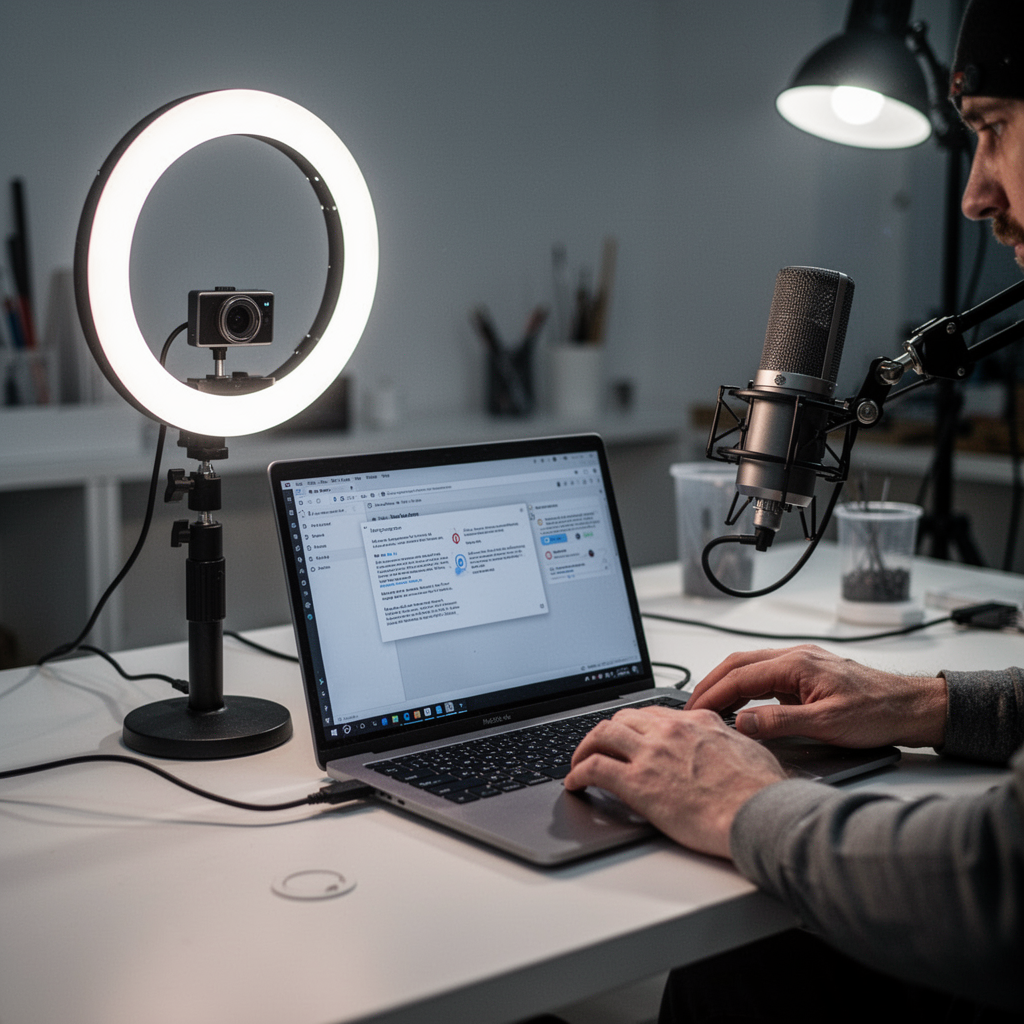
Step 2: Lighting Your Space
Even the best webcam in the world will look bad in the dark. Place your primary light source—a softbox or a ring light—directly in front of you. Avoid having a bright window behind you, as this will turn you into a silhouette.
Step 3: Configuring Software
Use applications like OBS Studio or the manufacturer’s native software to fine-tune your white balance. Ensure your color temperature matches your environment to avoid looking overly "orange" or "blue."

OBS Studio User Guide for Beginners: A Complete Step-by-Step Walkthrough for Live Streaming, High-Quality Video Recording, Audio Setup, Transitions, Plugins, Performance Optimization and Troubleshoot
Frequently Asked Questions
1. Does a 4K webcam improve my Twitch stream? Not directly, as Twitch downscales to 1080p. However, it gives you the ability to "zoom in" on your face within your broadcast software without losing quality.
2. Can I use a DSLR as a webcam? Yes, via a capture card. It offers superior quality but requires more setup and maintenance than a dedicated webcam.
3. Is 60fps necessary for streaming? For gaming, 60fps makes your movement look smoother. For "Just Chatting" streams, 30fps is often sufficient and looks more natural.
4. How do I fix a flickering image? This is often caused by 50Hz/60Hz light frequency mismatch. Check your webcam settings to toggle the "Anti-Flicker" or "Power Frequency" setting.
5. Do I need a ring light? A ring light provides even, shadowless illumination. It is highly recommended for streamers who don't have dedicated studio lighting.
6. Does the microphone quality on webcams matter? Usually, no. Most built-in webcam microphones are subpar. Invest in a dedicated USB microphone for the best audio experience.
7. Should I use background blur software? If your room is messy, digital background blur (bokeh) is a lifesaver. Ensure your CPU can handle it, as it is a resource-intensive task.
8. What is the best way to clean my webcam lens? Use a microfibre cloth. Avoid household glass cleaners, as they can strip away anti-reflective coatings.
Safety Tips
- Privacy Shutter: Always use a physical privacy shutter when not in use to prevent accidental broadcasts or unauthorized access.
- Cable Management: Keep USB cables tidy to avoid pulling your webcam off the desk while moving your laptop.
- Firmware Updates: Regularly check the manufacturer's website for firmware updates to ensure the best security and performance.
Expert Recommendations
For the majority of users, I recommend prioritizing Auto-Focus speed and software compatibility. If you are a Mac user, look for webcams that support UVC (USB Video Class) for seamless integration. If you are on Windows, ensure the camera has a dedicated app that allows for manual exposure lock, which prevents the camera from constantly adjusting brightness during your stream.
Conclusion
Finding the best webcam for streaming on a laptop is the fastest way to elevate your content from amateur to professional. By focusing on your resolution, lighting, and positioning, you can create a high-quality visual experience that keeps your audience engaged and coming back for more. Start with a solid, mid-range camera that fits your budget, master your lighting techniques, and remember that consistent, clear audio is just as important as your video. Don't let a grainy, dark stream hold your brand back—upgrade your hardware today and start streaming with the clarity you deserve. Explore our top recommended products above to get started.