The Battle Against the Elements: Keeping Your Greenhouse Intact
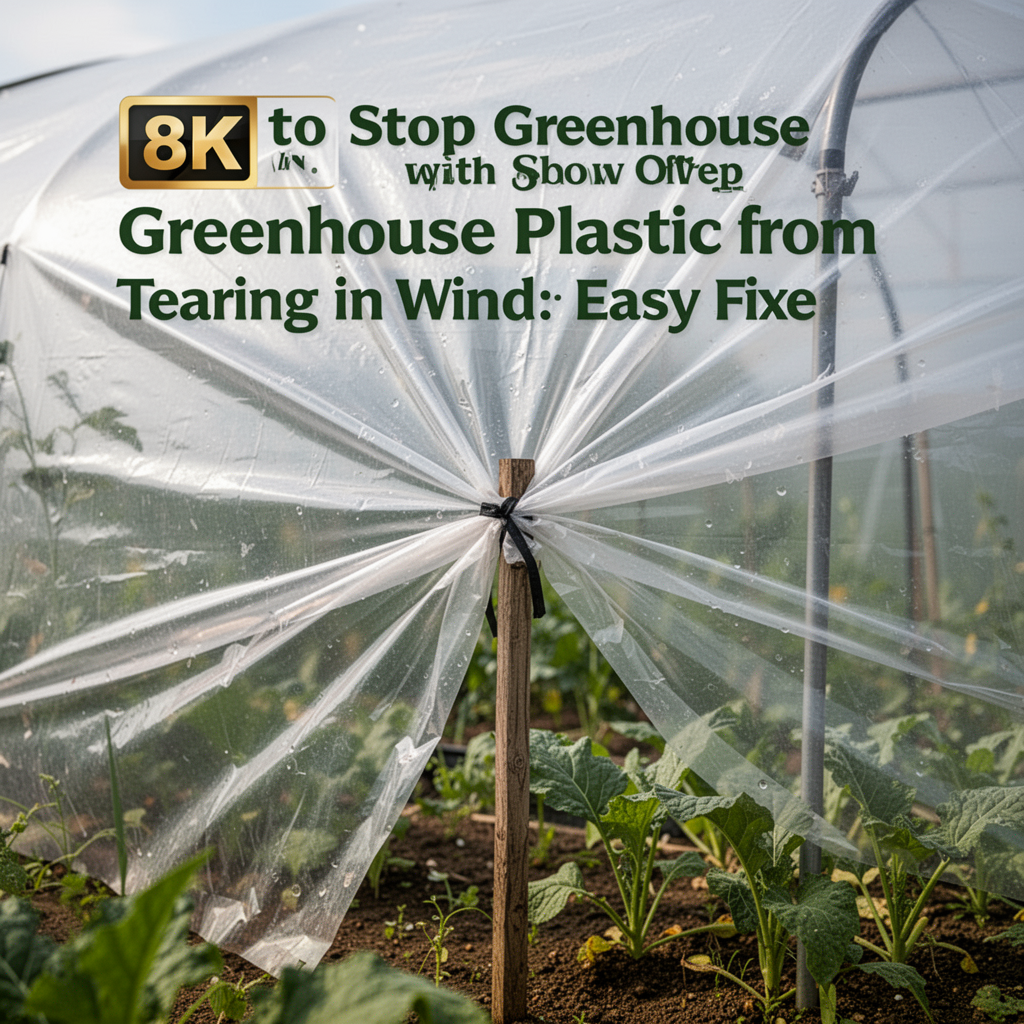
There is nothing more heartbreaking for a gardener than walking out to their greenhouse after a gusty night, only to find the plastic sheeting flapping violently or, worse, torn to shreds. Wind-induced damage is the number one cause of greenhouse failure for hobbyists and professionals alike. When the wind catches a loose edge or a section of polyethylene film, it creates a "sail effect" that generates immense pressure, leading to rips, tears, and structural stress.
Understanding how to stop greenhouse plastic from tearing in the wind is about more than just duct tape—it is about proper tension, hardware selection, and proactive maintenance. Whether you are battling the high-desert winds of the Southwest or the unpredictable spring storms of the Midwest, preventing these tears will save you hundreds of dollars in replacement costs and protect your precious plants. In this guide, we will walk through the professional techniques used to secure greenhouse covers so that your structure remains a sanctuary, not a casualty, of the next weather front.
Understanding the Root Causes of Greenhouse Plastic Failure
Before we dive into the solutions, we must diagnose why plastic fails. It is rarely just "bad luck."
1. Fluttering and Loose Tension
If your greenhouse plastic isn't drum-tight, wind will cause it to vibrate. This constant friction against the metal or wooden frame creates stress points that eventually lead to tears.
2. UV Degradation
Cheap plastic breaks down under the sun. As the UV stabilizers wear out, the plastic becomes brittle, making it far more susceptible to snapping during a wind gust.
3. Improper Fastening
Using nails or standard staples is a recipe for disaster. These methods create small holes that act as "perforations" where a tear can start the moment a strong wind pulls on the sheet.

Step-by-Step Tutorial: How to Secure Your Plastic Against Wind
To ensure your plastic lasts for years, you need to use the right tensioning systems. The industry standard is wiggle wire and base channels.
Tools and Materials Required
- Aluminum wiggle wire base channels
- Wiggle wire (spring wire)
- Anti-hot spot tape (highly recommended for metal frames)
- Heavy-duty poly film (6 mil thickness)
- Utility knife
- Work gloves
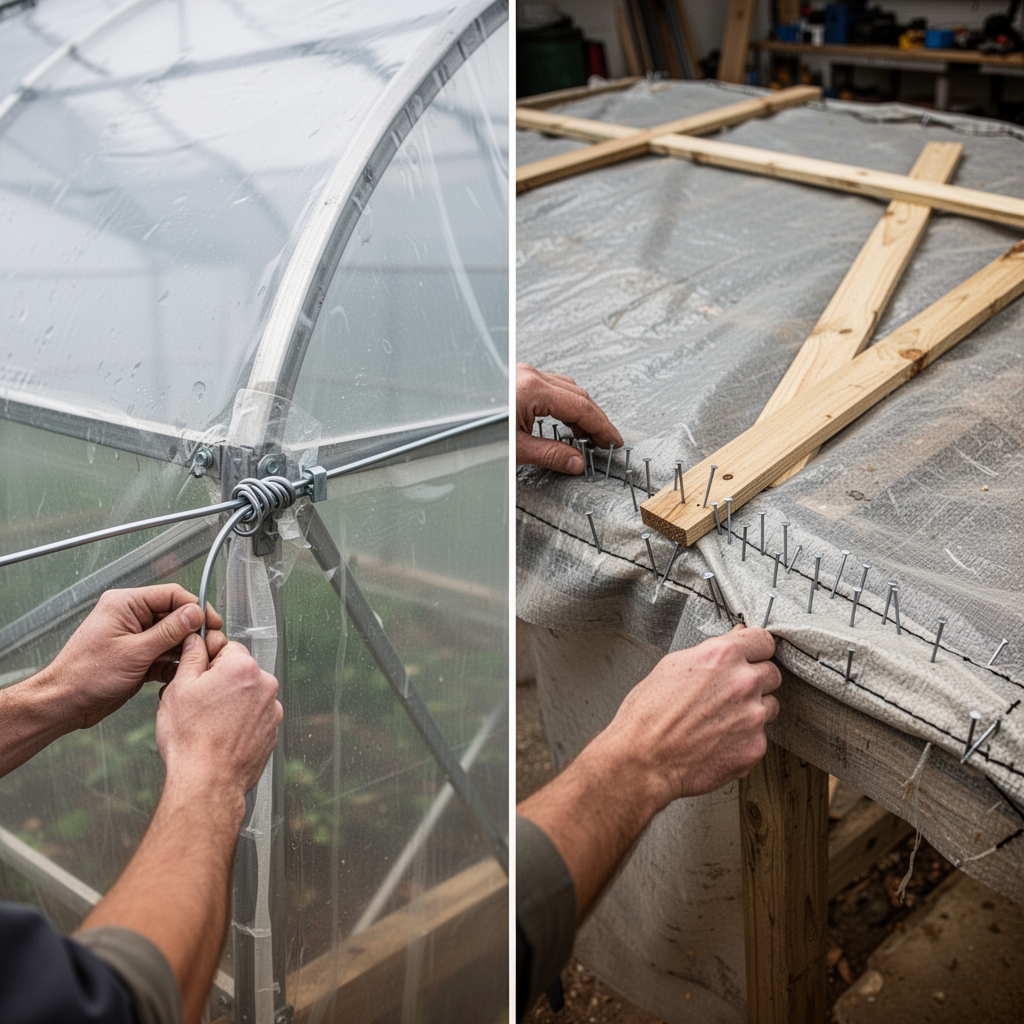
The Installation Process
Step 1: Prep the Frame with Anti-Hot Spot Tape
If your frame is metal, the heat buildup can degrade the plastic. Apply a layer of white foam tape over the bows to create a buffer.

Step 2: Position the Plastic
Drape your plastic over the structure, ensuring an even overhang on all sides. Use clamps to hold it in place temporarily.

Step 3: Secure the Base Channel
Install your base channels along the sides of the structure. This is where the plastic will be locked in.

Step 4: The Wiggle Wire Technique
Insert the spring wire into the channel to lock the plastic in place. Work from the center outward to ensure even tension.

Comparison: Wiggle Wire vs. Batten Tape
| Feature | Wiggle Wire & Channel | Batten Tape / Wood Strips |
|---|---|---|
| Durability | High | Low |
| Ease of Use | Moderate | Easy |
| Wind Resistance | Superior | Moderate |
| Reusability | Excellent | Poor |
Who should choose what? If you live in a high-wind area, wiggle wire is non-negotiable. It provides continuous tension across the entire length of the frame, whereas wooden battens only hold at specific points, leaving the rest of the plastic vulnerable to flapping.
Buying Guide: What to Look For in Greenhouse Accessories
When shopping for hardware, don't cut corners. Your greenhouse is only as strong as its weakest connection.
- Thickness of Film: Always aim for at least 6 mil polyethylene. Anything thinner will fail within a season.
- UV Rating: Check the packaging for the number of years the plastic is rated for UV resistance.
- Aluminum vs. Plastic Channels: While plastic channels are cheaper, they become brittle in the cold. Opt for anodized aluminum channels for long-term reliability.
Budget Considerations
- Entry-Level: DIY wooden batten strips (not recommended for high wind).
- Mid-Range: Standard plastic U-channels with wire.
- Professional Grade: Anodized aluminum base channels and stainless steel screws.

Beginner Tips & Common Mistakes
- Avoid over-stretching: Pull the plastic taut, but don't pull it to the point of structural strain. Plastic expands and contracts with temperature.
- The "Drum" Test: If your plastic sounds like a drum when you flick it, it's tight enough.
- Common Mistake: Using clear packing tape to repair tears. It doesn't handle the UV rays and will peel off within weeks. Use greenhouse repair tape specifically designed for poly film.
Frequently Asked Questions (FAQ)
1. Can I use regular duct tape for repairs? No, duct tape leaves a messy residue and doesn't handle UV exposure. Use specialized Greenhouse Repair Tape.
2. How tight should my plastic be? It should be firm but have enough "give" to handle expansion during heat.
3. Why does my plastic tear near the corners? Corners are high-stress areas. Always double-layer the plastic at the corners or use corner guards.
4. Does wind affect my internal temperature? Yes, loose plastic lets in drafts, killing your temperature control.
5. How often should I check my wiggle wire? Every spring and autumn, check for any wire slippage.
6. Can I add windbreaks outside the greenhouse? Yes, planting hedges or installing wind cloth can significantly reduce wind pressure.
7. Is it better to have a single or double layer of plastic? Double layers provide insulation and are much stronger against wind.
8. What is the "sail effect"? When wind gets under a loose edge, it creates a pocket of air that can rip the plastic off the frame entirely.
Safety Tips
- Work in calm conditions: Never attempt to install or repair greenhouse plastic during windy days.
- Ladder safety: Always use a stable ladder on level ground.
- Hand protection: Aluminum channels can have sharp edges; wear work gloves.
Conclusion
Securing your greenhouse plastic is a fundamental skill for any serious gardener. By moving away from temporary fixes like staples and towards professional-grade tensioning systems like wiggle wire, you move from a state of constant worry to a state of peace. Remember: the goal is to make your greenhouse a rigid, aerodynamic shell that wind passes over, rather than a sail that catches it.
Start by inspecting your current setup for loose edges, upgrade your fastening hardware this weekend, and invest in high-quality UV-rated film. Not only will you stop greenhouse plastic from tearing in the wind, but you will also create a more stable environment for your plants to thrive. Take action today, reinforce those weak points, and ensure that your greenhouse stands tall through every storm the season throws your way. Happy gardening!